| 
| | Grapes abound, dangling from the Discovery Garden trellis. Photo by Alexandra Muller. |
|
| | | BBG Summer at Home
Fruit | Dear Garden Friends,
What do tomatoes, peppers, apples, peaches, okra, and pears have in common? They are all fruits. They have different shapes, smells, and textures, but they all contain seeds. This week, we’ll explore fruits through a tasty recipe, game, seed saving activity, and printing project. Enjoy! |
|
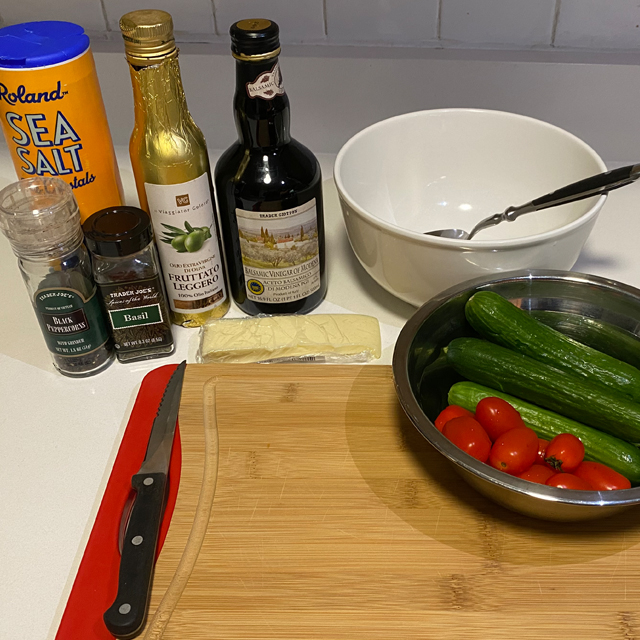
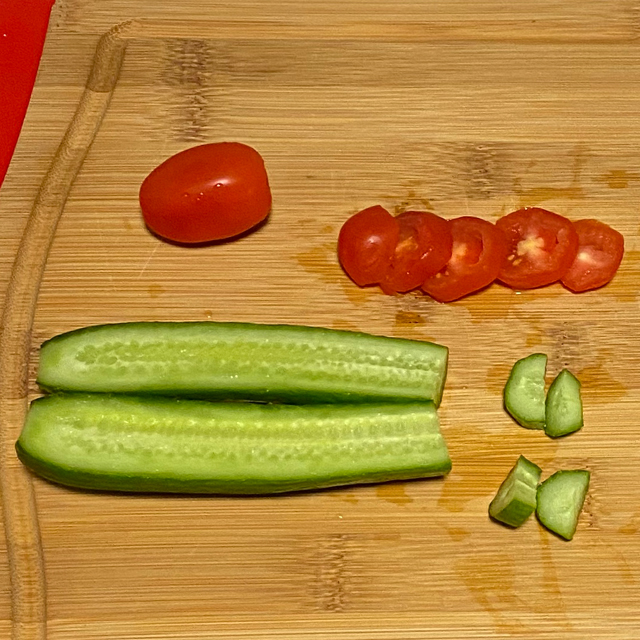
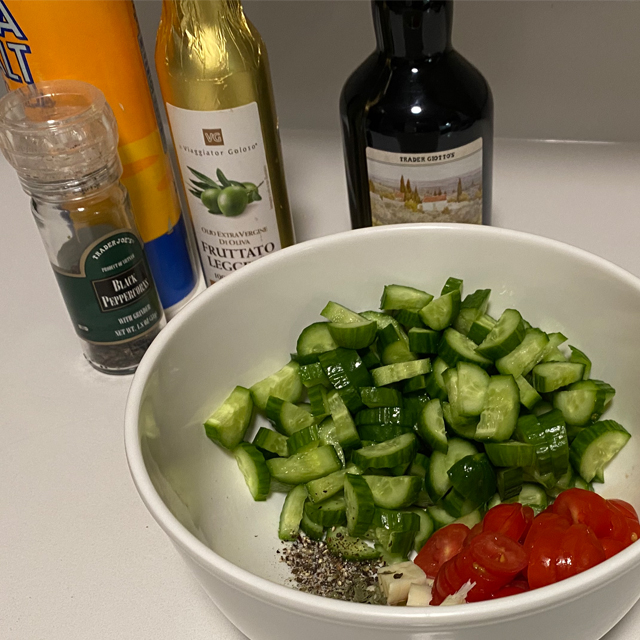
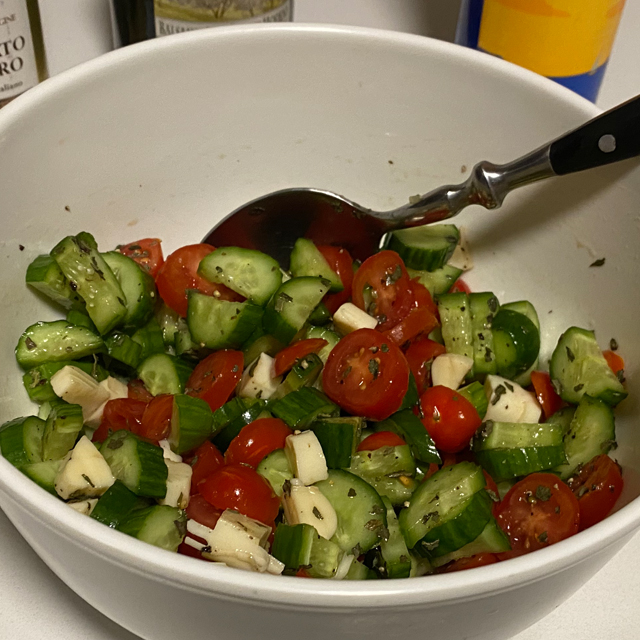
Let’s Cook: Cucumber and Tomato Salad
(All ages with adult supervision, active time 15 minutes) |
|
Ingredients:
3 small cucumbers or 1 large cucumber
10 small tomatoes or 2 large tomatoes
2 tablespoons dried or fresh herbs (basil, cilantro, dill, parsley, oregano, or your choice of herbs)
¼ teaspoon salt
¼ teaspoon pepper
2 tablespoons olive oil
2 ounces fresh mozzarella (optional)
1 tablespoon balsamic vinegar (optional)
Directions: Cut cucumbers in half and cut into in ¼-inch slices. Chop tomatoes, mince herbs, and cube mozzarella (if using). Place fruits, herbs, and mozzarella in a bowl with salt, pepper, olive oil, and balsamic vinegar (if using). Mix all ingredients together. Place container in the refrigerator for 20 minutes before serving. Serve your cool cucumber and tomato salad on a hot day! |
|
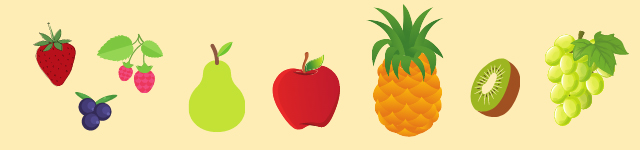
Let’s Play: Name That Fruit
(Ages 3–13, 10–20 minutes) |
|
| Graphic by Ellen McCarthy. |
|
Materials: Different fruits found in your kitchen, a handkerchief or scarf to act as a blindfold, plates, and a fork or spoon
Directions: Put your taste buds to the test! Pick four or more fruits and cut them in slices or cubes. Place them on a plate, blindfold or close your eyes, and guess what fruit you taste or smell. The next person can try to identify the same fruits or try different ones. Find out who can identify more fruits just by the taste or smell.
Alternative: Use a single fruit in different states. For example: grated, steamed, roasted, fried, mashed, and puréed. Describe how the texture of your fruit changes its flavor. |
|
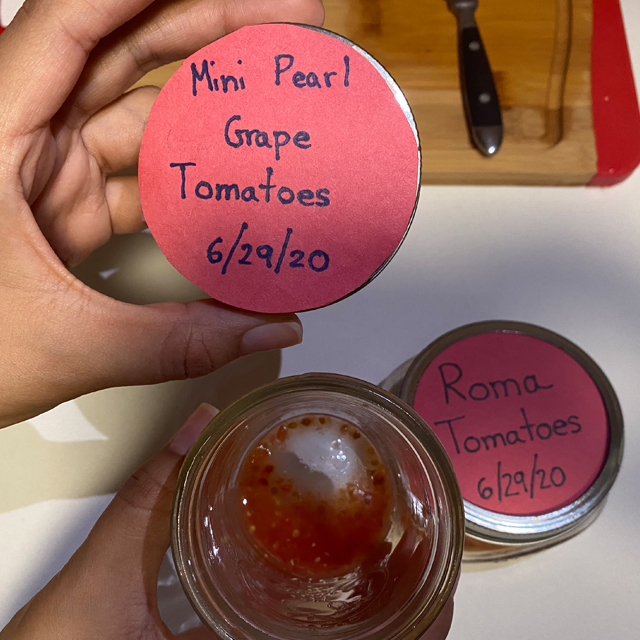
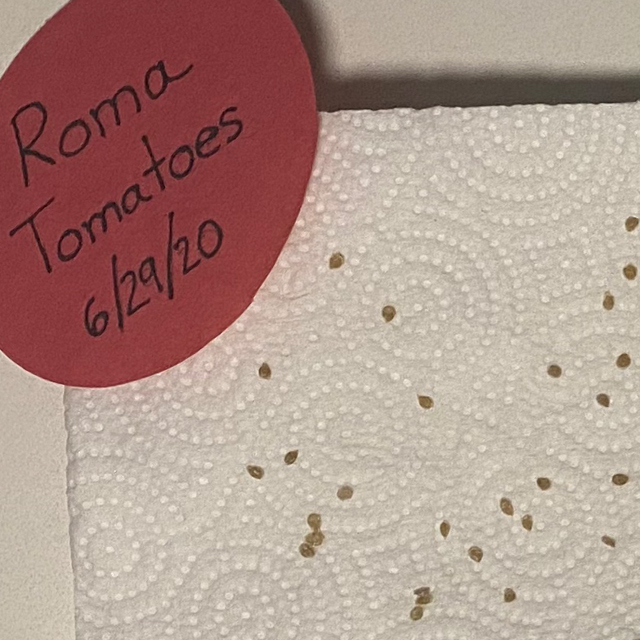
Let’s Experiment: Seed Saving
(All ages with supervision, prep 15 minutes + 2–4 weeks drying) |
|
| Photos by Ashley Gagñay. | Have you ever wondered why tomato seeds are covered in goopy gel inside the tomato? That gel is a growth inhibitor that keeps the seeds from sprouting inside the tomato. By letting the tomato goop ferment for a few days, you can speed germination and save seeds for next season.
Materials: Tomato, a glass or plastic container, a marker, small piece of paper for labeling, paper towel or coffee filter, knife, cutting board, and strainer
Directions:
1. Cut the tomato open and squeeze the pulp, juice, and seeds into a container. Label the container with the date and type of seeds. Eat the rest of your tomato as a snack.
2. Set the container aside to ferment for 2 to 4 days, until a layer of mold forms across the top. Tomato seeds that are viable will sink to the bottom of the container.
3. Pour off the moldy mixture on top and then pour the remaining liquid and seeds through the strainer and wash the seeds thoroughly.
4. Spread the seeds out in a single layer over a paper towel to dry in direct sunlight.
5. Dry for 2–4 weeks.
6. Plant your tomato seeds in soil or store the seeds in an envelope to grow next year.
Try different seed-saving techniques. Plant a few fermented tomato seeds and a few seeds straight from a fresh tomato, and see which germinate first. Or experiment by saving seeds from different fruits found in your kitchen. If you find seeds that don’t have a slimy coating inside the fruit, like pepper or lima bean seeds, you can skip the fermentation process. Go straight to step 4 and set your seeds out to dry for 2–4 weeks before planting. |
|
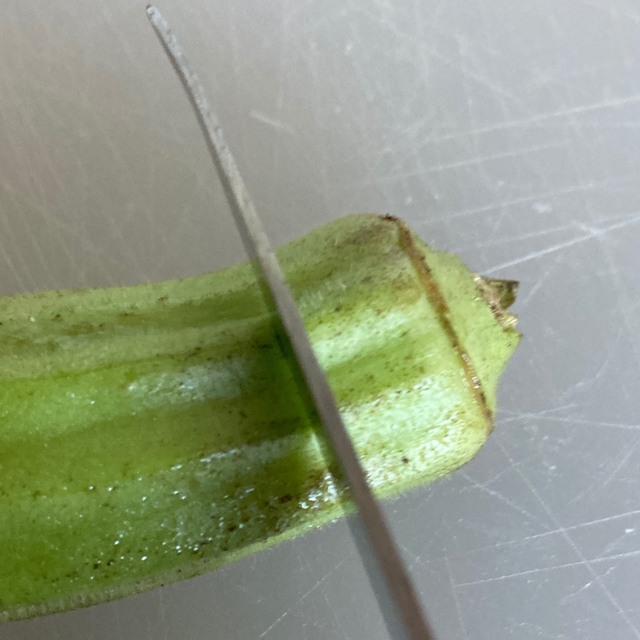
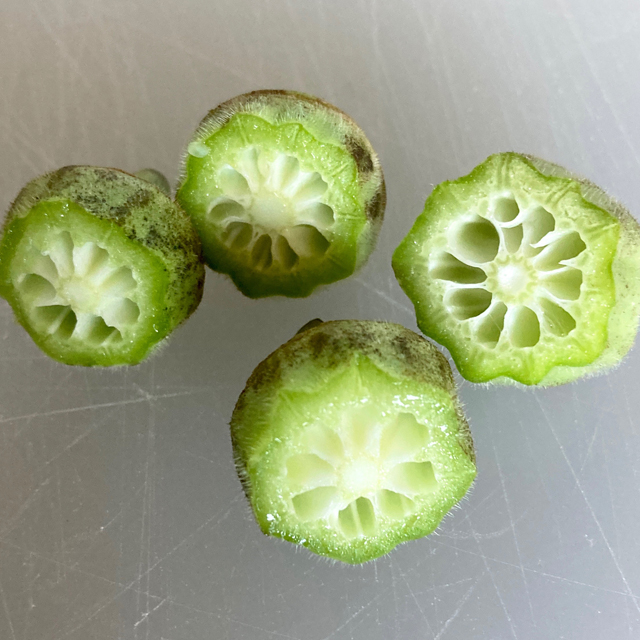
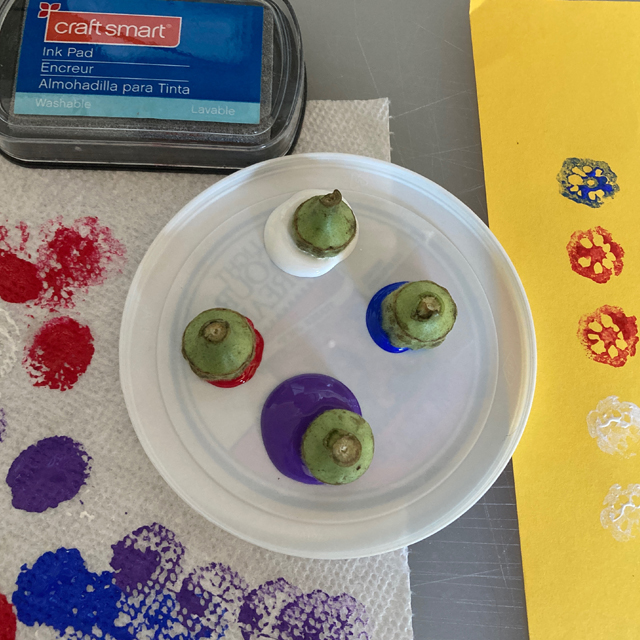
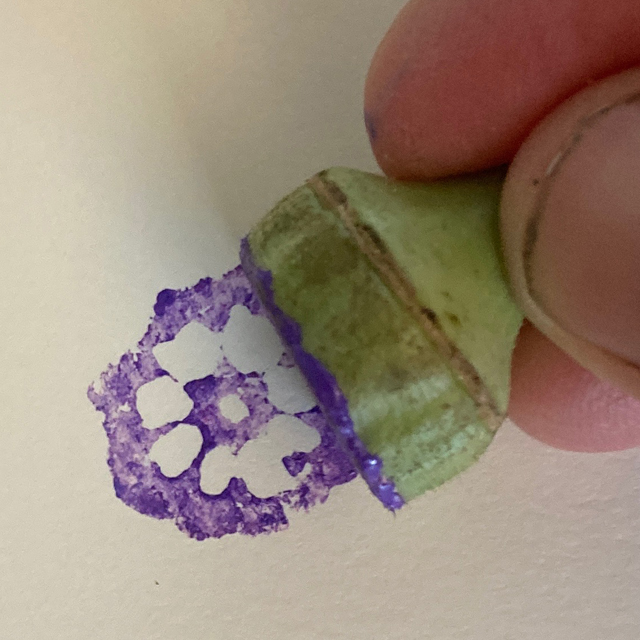
Let’s Craft: Okra Printing
(All ages with supervision, 30 minutes) |
|
| Photos by Ellen McCarthy. |
|
Use okra tops that you might normally discard to make a beautiful art project. You can make cards, gift tags, or invitations to share with friends.
Materials: Okra, paint or stamp pads, paper plate or flat piece of recycled plastic, newspaper or paper towels
Directions:
1. Cut off the top of the okra, about half an inch from where the stem ends.
2. Look at the beautiful pattern inside of the okra. This becomes your stamp.
3. Remove any seeds that remain in the holes and dab the okra on a paper towel to remove moisture.
4. Put a small amount of paint on a paper plate or recycled plastic lid. Dab okra stamp into a little paint and blot off excess. Test out your print a few times on scrap paper.
5. Stamp the okra onto your paper into any design you like! |
|
| Fruits have such an important job in protecting the seeds for new plants to grow. Stay tuned for next week’s final summer email, where we’ll plan a fun garden party!
Until next time,
—BBG’s Children’s Education Team | |
|
| Not on our list? Sign up here to receive these Summer at Home emails. |
|
| Copyright © 2020
Privacy Policy | Contact Us
BROOKLYN BOTANIC GARDEN
1000 Washington Avenue
Brooklyn, NY 11225
718-623-7200
bbg.org |
|
| | |