Creating a Rain Garden
Rain gardens are shallow depressions designed to soak up water and support trees, shrubs, and flowers that tolerate both wet and dry conditions. Often located near gutter downspouts or places where water puddles, rain gardens can also be landscaped into gentle slopes or placed along streets or sidewalks. By absorbing rain, such a garden can reduce the storm-water runoff that pollutes our beaches, canals, and estuaries.
People sometimes confuse rain gardens with water gardens. A rain garden is not a pond and won’t breed mosquitoes, which require 10 to 14 days in standing water to develop from eggs into adults. Here's how to create a healthy, sustainable rain garden of your own.
Choose a Good Location
The next time it rains, observe the direction of runoff and where water collects on your property. Your roof may be directing most of the rainwater it receives through downspouts toward a storm drain; if so, consider diverting it to irrigate your garden. For more information, see Gardening with Rainwater. Good places for rain gardens are near downspouts; in low, wet areas; near curbs (but watch out for snow and salt); and at the base of slopes—anywhere that a garden wouldn’t interfere with underground utilities.
Here are some things to keep in mind:
- To protect foundations, keep your garden at least ten feet away from any building.
- Avoid planting rain gardens under large trees, which could damage their root systems.
- If rain doesn’t flow naturally to the site, direct it there via underground piping, or construct a surface swale or channel.
- If your land slopes gently, you can create shallow terraces (one foot deep or less) for your rain garden or dig out a scallop-shaped bed for it in the hill. Steep slopes won’t work.
Evaluate the Soil
Good drainage is the key to designing a rain garden that works. A rain garden is not a pond; ideally, it is a place where water collects and then percolates quickly into the ground, recharging the local aquifer and providing irrigation for nearby plants and trees. Identify the content of your soil: Is it primarily made up of sand, silt, or clay? Grab a handful of your soil. If it’s gritty and coarse, then it’s probably sandy and will drain quickly, possibly too quickly. Soil that’s smooth and has more organic matter is deemed silty. It generally drains fairly well. Clayey soil is sticky, clumps together, and may become waterlogged. It is less suitable for rain gardens than the other components.
Do A Percolation Test
Conduct the following test to see if water infiltrates your site quickly enough to support a rain garden: Dig a hole about eight inches deep and eight inches wide and fill it with water. If it takes more than 24 hours to soak in, the soil isn’t good for a rain garden. Water in the hole should decline at least one inch per hour. If it disappears more slowly, then you’ll need to make additional site preparations.
Amend the Soil
Amend or replace soil composed of too much clay with this porous mixture: 50 to 60 percent sand, 20 to 30 percent topsoil, and 20 to 30 percent compost. For overly sandy soil, omit the sand and add proportionately more topsoil and compost. This will help the soil drain properly and support healthy plant growth.
If the soil is very heavy or if a lot of water needs to be infiltrated, construct a French drain system of gravel and perforated pipe beneath the garden to help it absorb more water. If the soil is compacted due to construction or urban overuse, dig it up to a depth of two feet to loosen it for planting and to absorb more water. Incorporating a few inches of compost will also improve compacted soil.
Determine the Shape and Size
Rain gardens can be any shape and as big as your time and space permit; typically, a residential rain garden ranges from 100 to 300 square feet. Smaller gardens are possible but will have less plant variety. Gardens larger than 300 feet can be expensive to install and take a lot more time to dig. A general rule of thumb is that for heavy soils, rain gardens should be 30 percent of the size of the roof or ground area that drains into it; for sandier soils with better percolation, the garden should be 20 percent of the size of the drainage shed. The depth of rain gardens ranges from 3 to 8 inches, depending on their soil and slope characteristics.
Prepare the Site
Once you’ve determined how big the garden should be, it’s time to define its borders. Use a hose to play around with various shapes on the ground until you find one you like. Mark the shape with small flags or pegs and string, and then remove any sod or pavement within. Most sites require excavating some soil to create a depression for the rain garden. The deepest part should be about six inches below the surrounding landscape. Mix leftover topsoil into the porous soil mixture described above; if your site is on a slope, use it to build a low berm to contain the lower end of the garden. Install a French drain if necessary before adding your soil amendments.
Planting and Maintenance
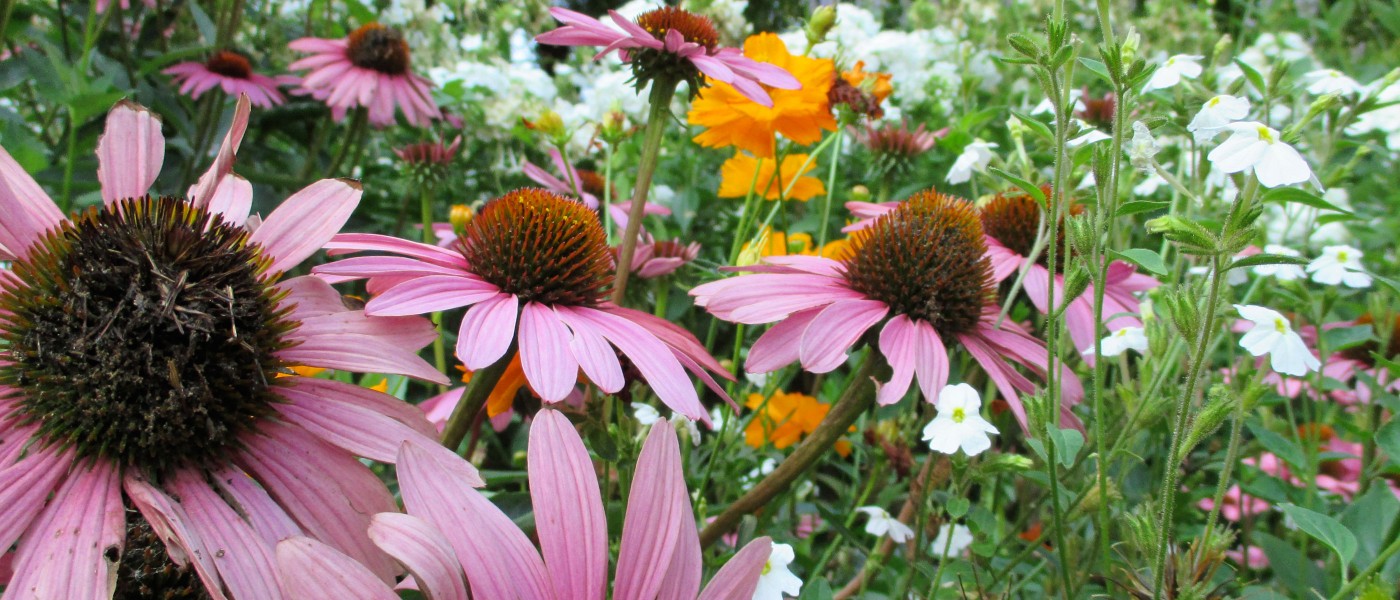
Native plants are highly recommended for rain gardens. They are uniquely adapted to local weather fluctuations; they are more pest resistant than nonnatives and require little or no fertilizer; and they provide habitat for birds and butterflies. Once established, their deep roots increase the water-holding capacity of the soil, hold it together, and prevent erosion. See Native Plants for New York City Rain Gardens for plant suggestions for the Northeast.
More: Learn about rain gardens, green roofs, bioswales, and rain barrels in Brooklyn Botanic Garden's Guide to Rainwater Harvest.
Divide your rain garden into three moisture zones, and plant species that can tolerate short periods of standing water in the lowest area or zone. Place those that can handle extreme fluctuations of wet and dry in the middle zone, and those that are most drought tolerant on the edges. When you’re finished planting, mulch the entire garden with a three-inch layer of hardwood chips.Water the garden as needed for the first year or so after planting. By the third year, you’ll never need to water it again! You’ll only need to weed it until the plants are well established. Leave the flower heads intact through the winter so birds can eat the seeds, then cut down the stalks in early spring.