Make a Simple, Subirrigated, Self-Watering Planter Out of a Milk Carton
Until I learned to make subirrigated planters (SIPs), heaven help any of my plants that weren’t in the ground. Now that I’ve mastered the art of the SIP, I can fully embrace the fact that I just can’t remember to water anything every day. In fact, by using simple SIP technology, I can reduce my watering by up to 80 or 90 percent.
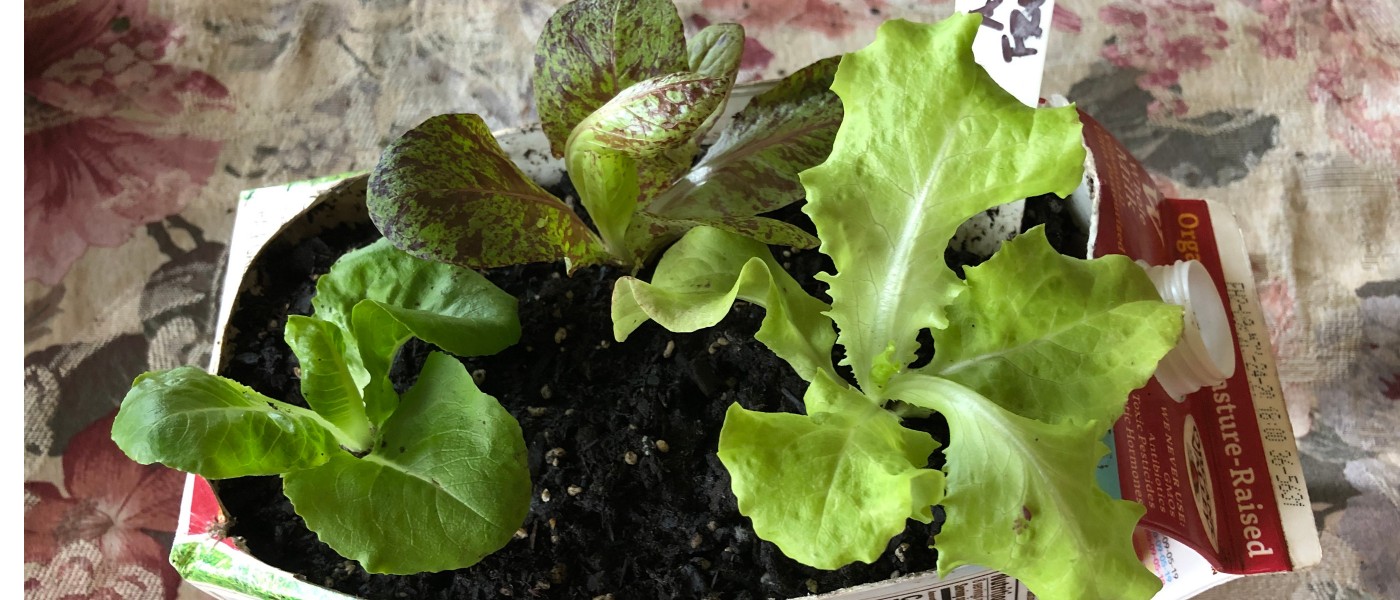
Since there are many reasons to subirrigate, SIPs—or so-called “self-watering” planters—are all over the marketplace and can be very expensive. But simple, effective DIY versions can be made cheaply. The key is understanding the basic mechanics. This version using a milk carton and a clamshell lid is a great starter project. Milk cartons don’t hold up for more than a few months, but this planter can be used to grow quick herbs or greens indoors on a sunny windowsill.
Using capillary action, SIPs water the plant’s roots from a reservoir that connects to the planting medium, wicking water upward. Ordinary garden soil will likely not effectively wick water, so use a lightweight planting medium with plenty of absorbent peat or coco-coir. Here’s how to proceed.
- First, use this diagram to get familiar with the basic anatomy of a SIP.
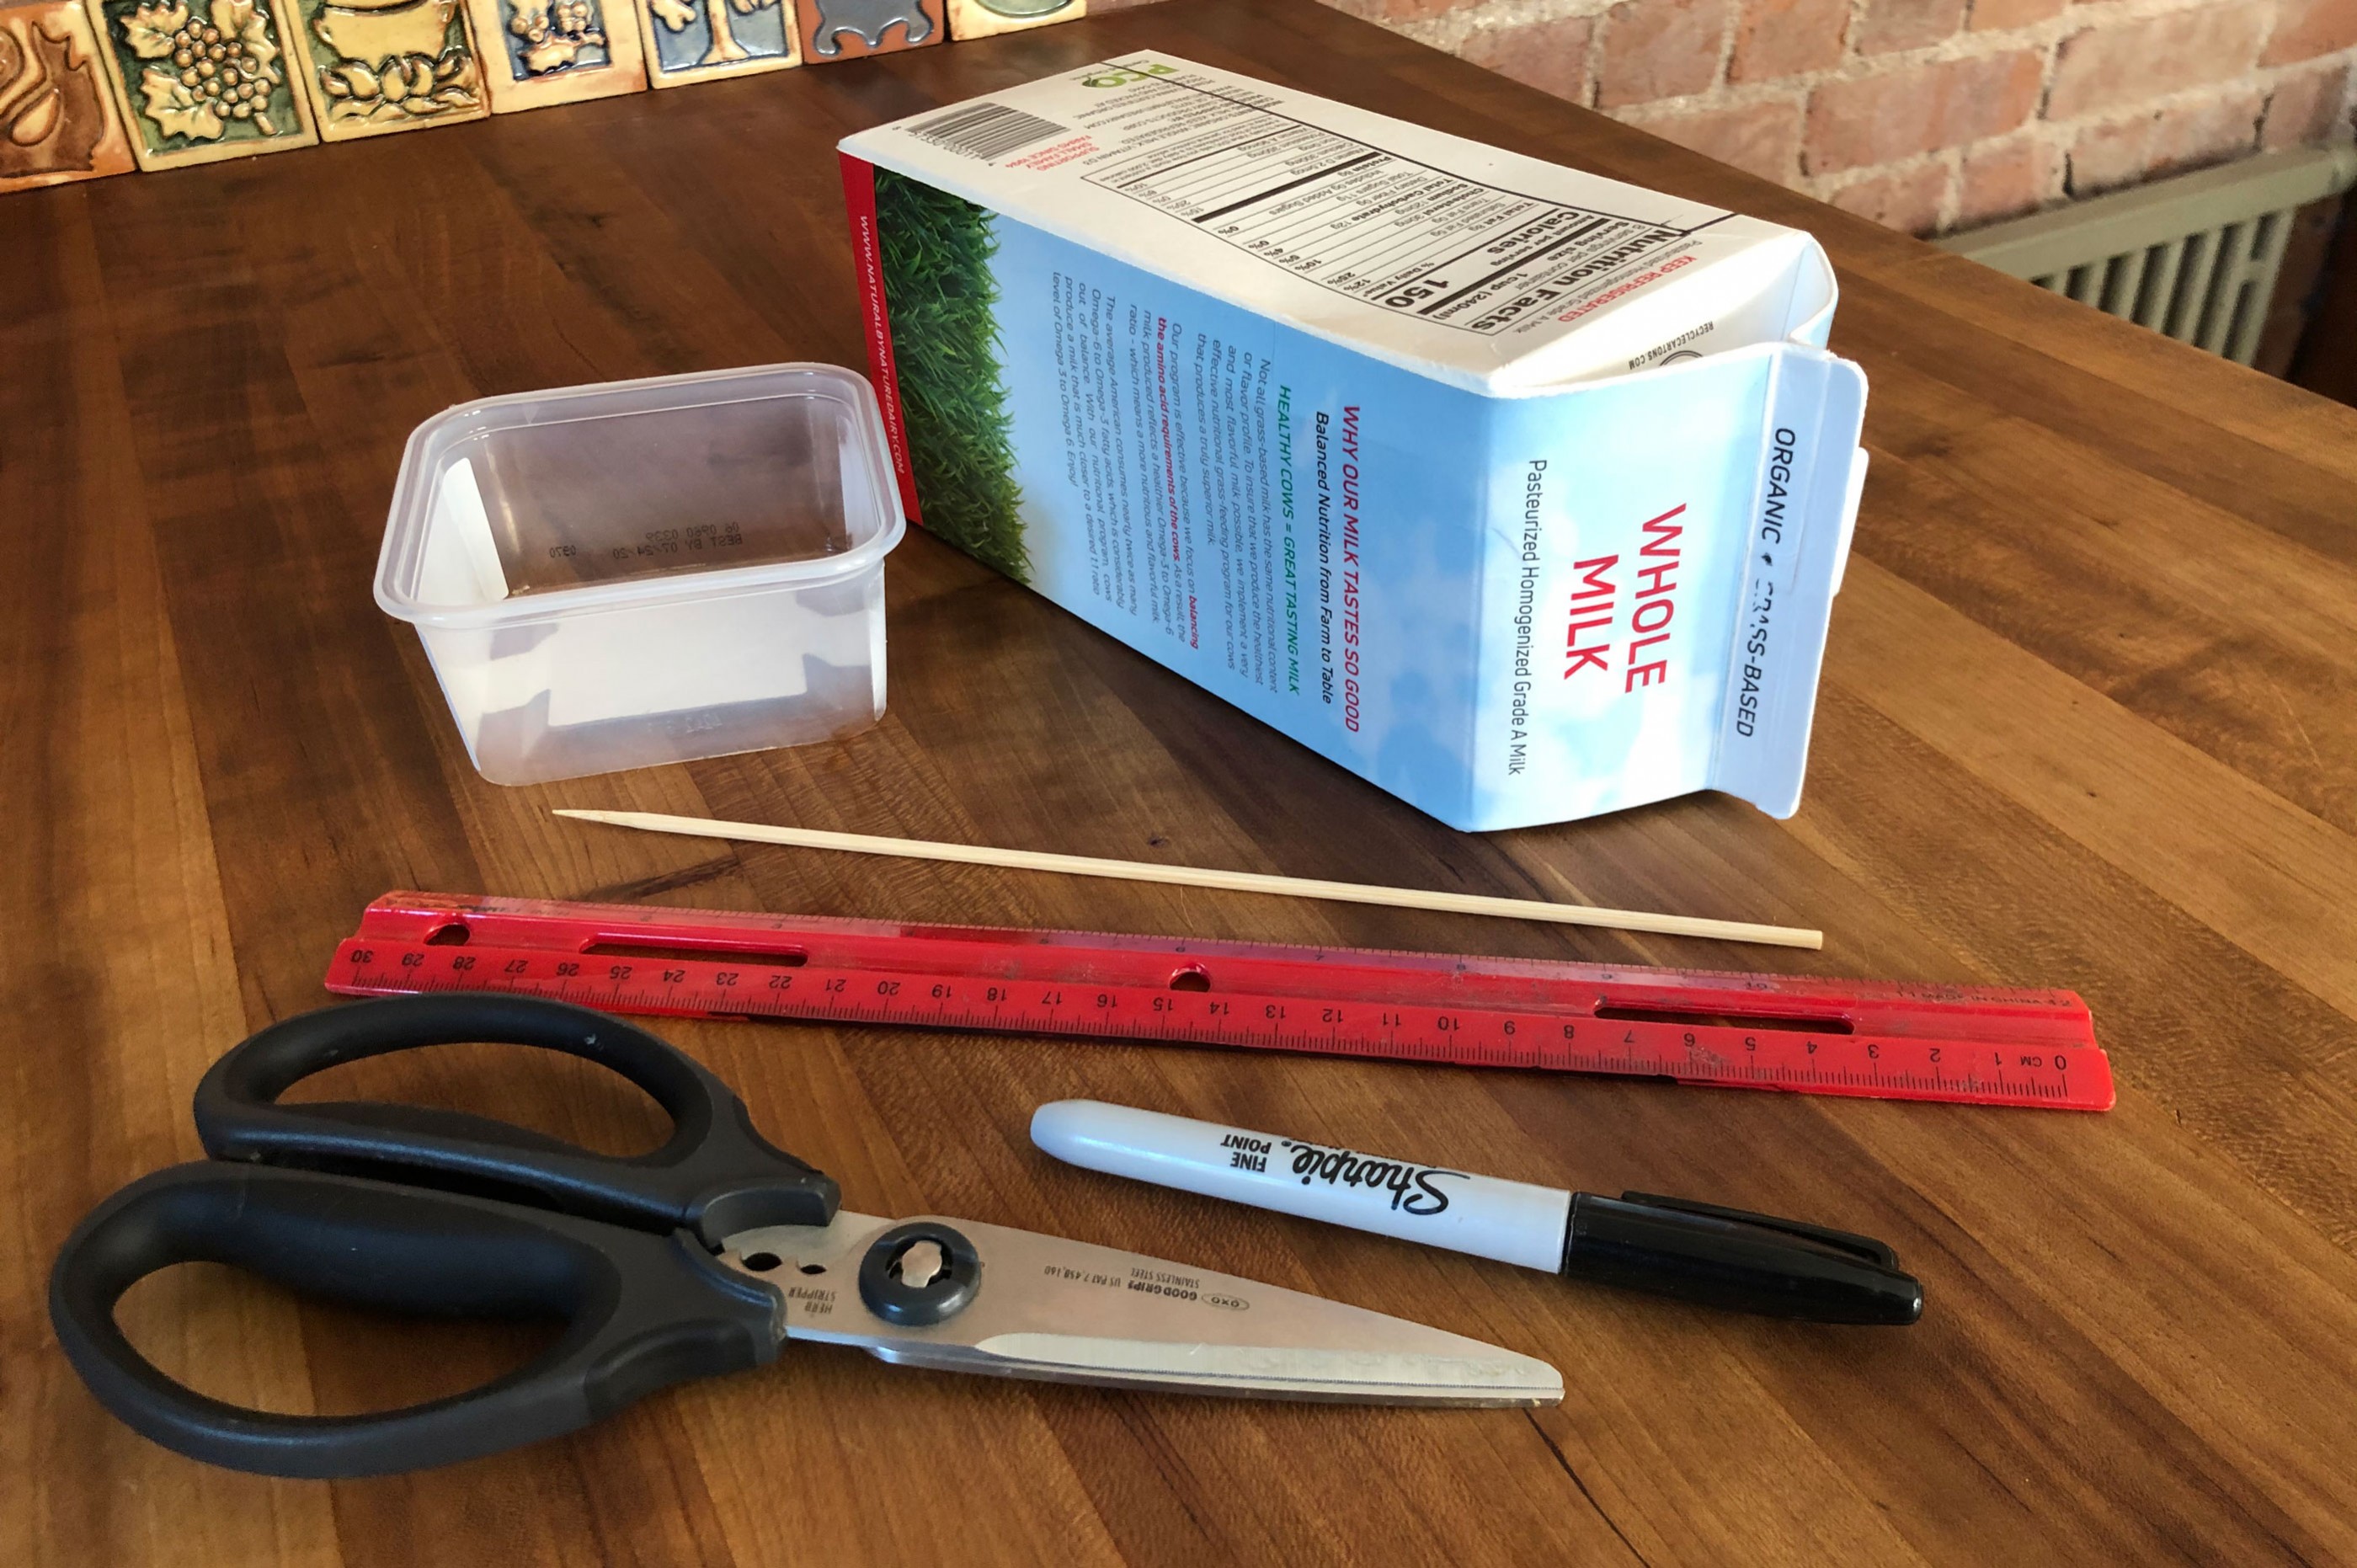
- Raid your recycle bin and assemble your materials. You’ll need a half-gallon milk or juice carton (including its cap) that’s been rinsed with warm soapy water, ruler, pen, scissors, a sharp nail or something similar for poking holes, a plastic clamshell lid (like from a pint of cherry tomatoes), and a stapler. You’ll also need some lightweight potting soil and whatever you plan to plant. See these articles on windowsill greens and cat-friendly houseplants for inspiration!
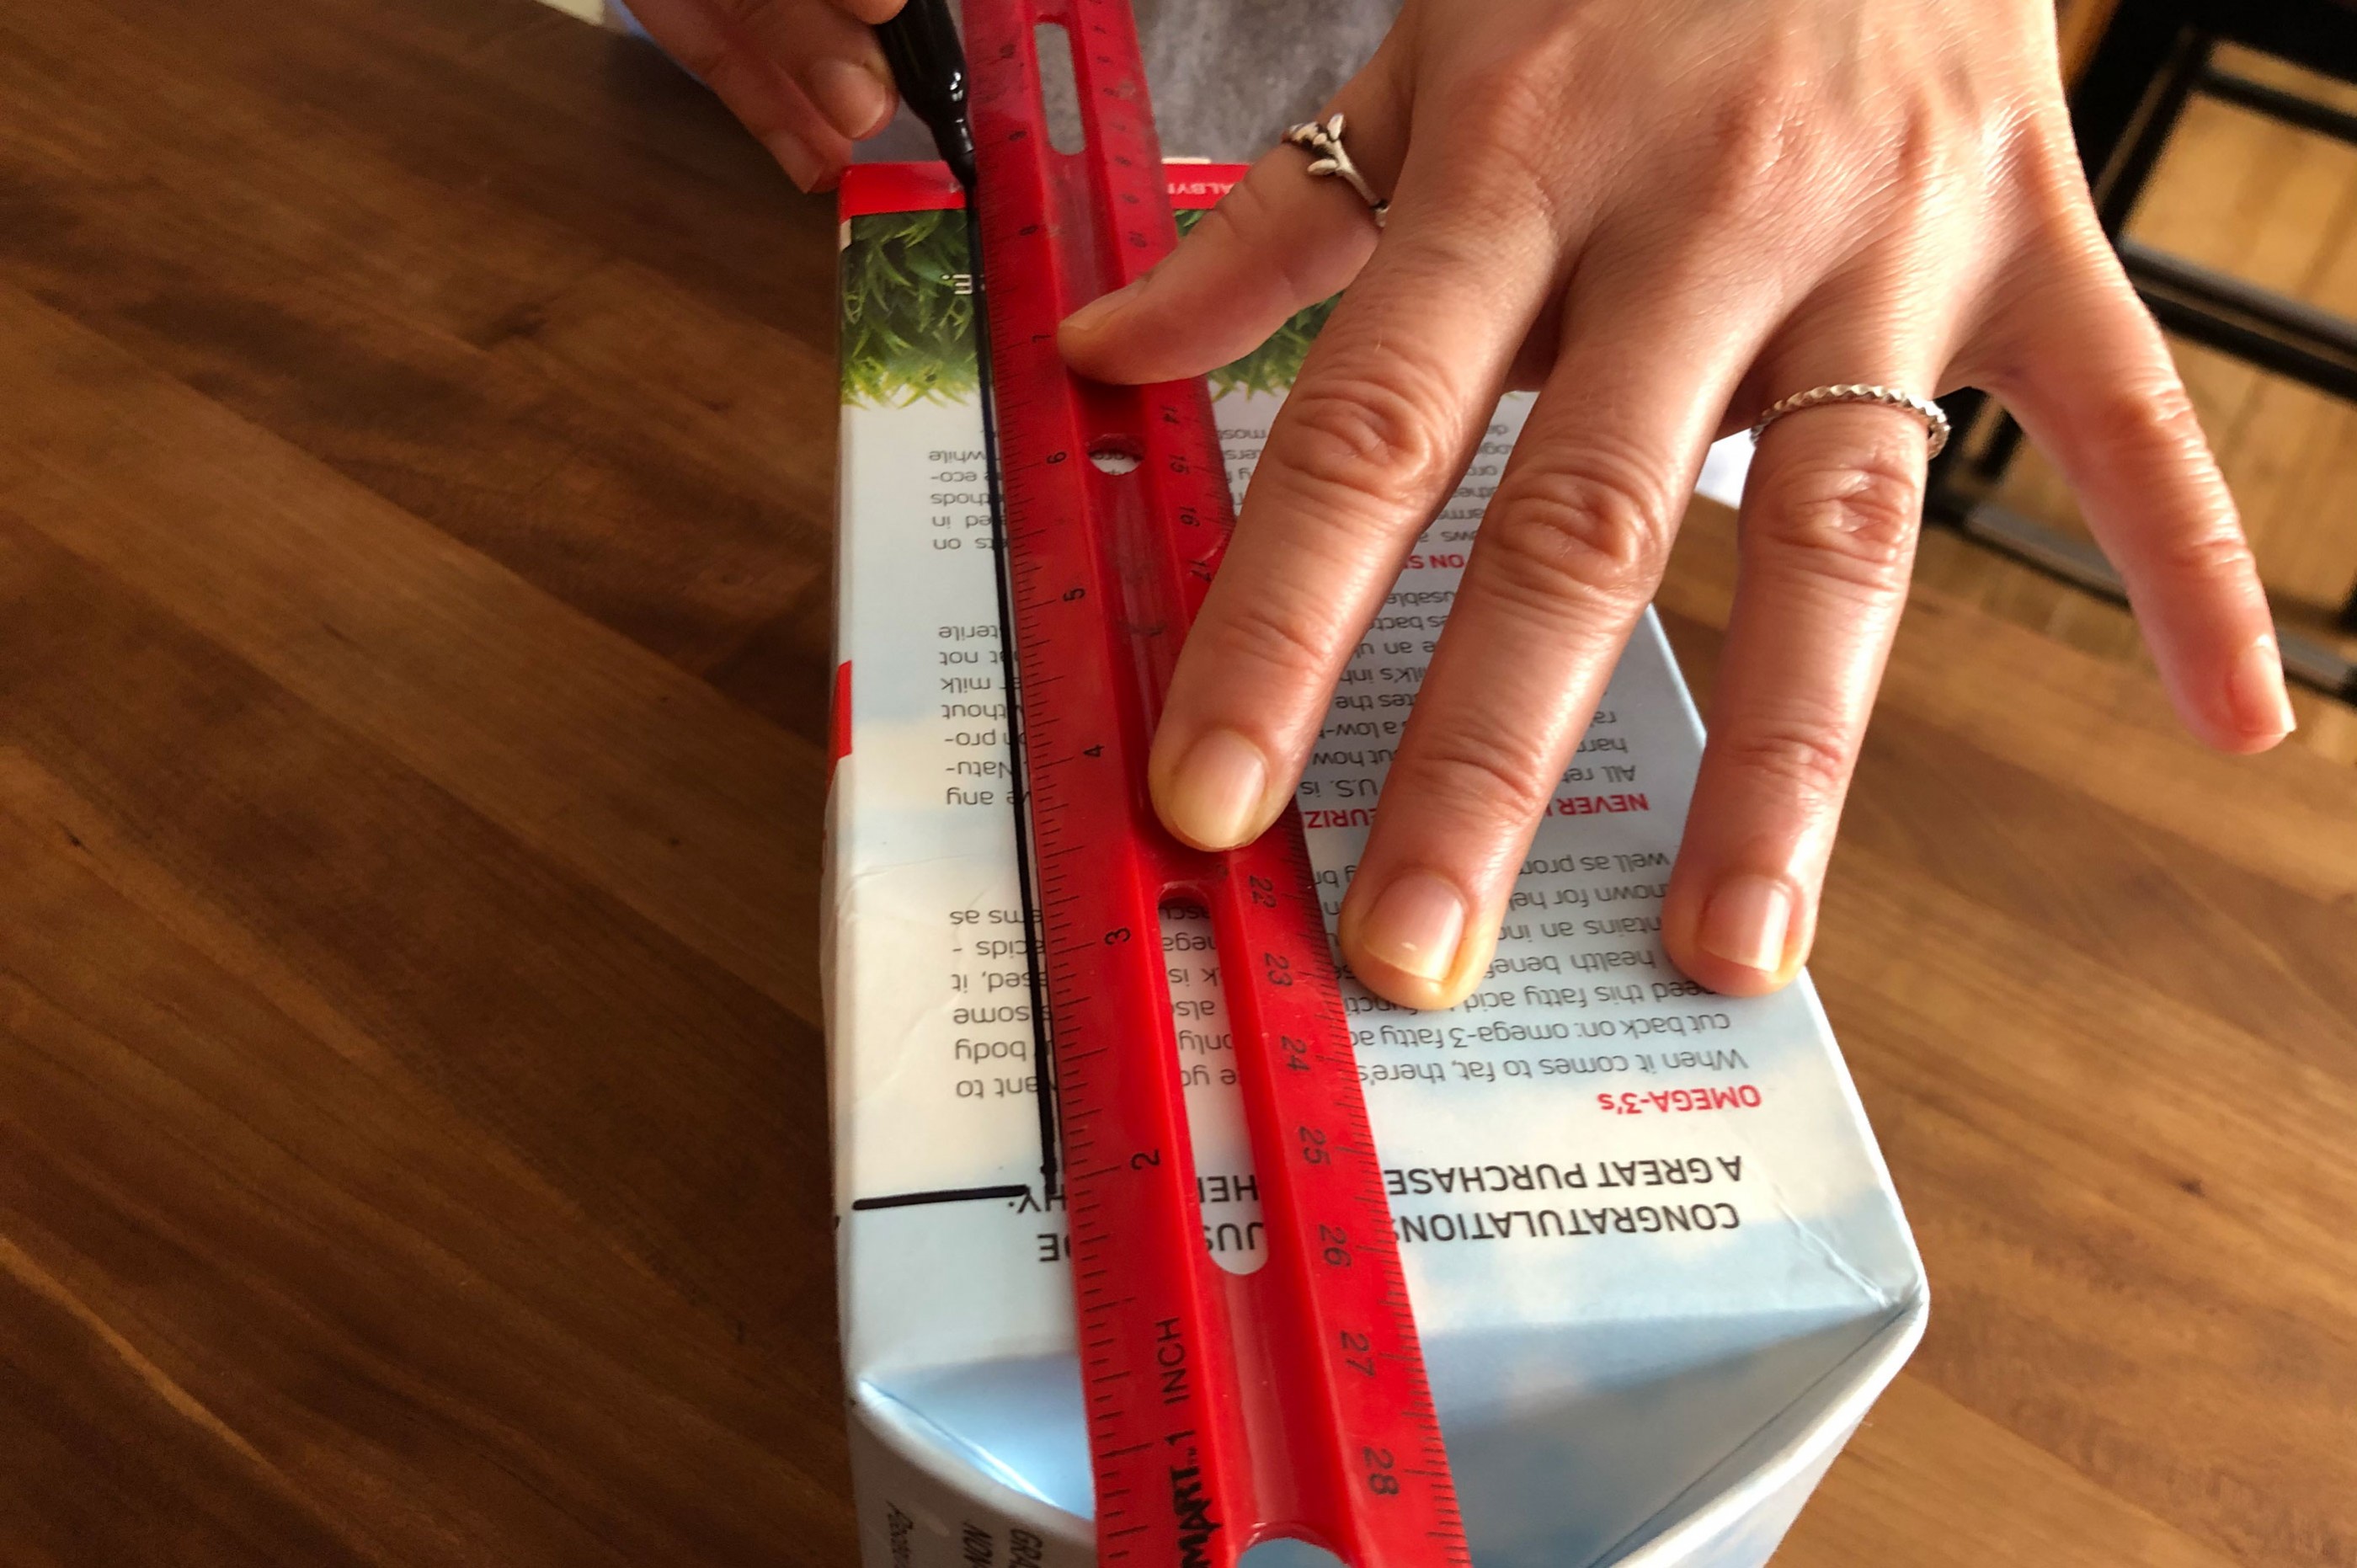
- Mark and cut a ¾–1-inch section that runs along the spout-side face of the carton, leaving about a ¾–1-inch lip below the spout. The cut-out section will become the reservoir.
- Cut the reservoir section lengthwise in half. Overlap the two halves by about one inch and staple them together. You want to create a roughly half-inch gap on either side of the reservoir once it’s tucked inside the carton. This will create the wicking legs.
- Using a sharp nail, poke plenty of holes in the top of the reservoir. This assures that the plant’s roots will have access to air as well as water. Below is the reservoir (turned upside down) with its halves stapled back together.
- Now, using the reservoir for reference, mark its height on the bottom end of the carton, near the center. Poke a hole about ⅛ inch below your mark. This is the only hole you will poke in your container; it will serve as your overflow hole. Make sure it's a large enough hole to avoid clogging.
- For the finishing touches on your reservoir, cut a couple of V-shaped notches on the lipped end and place the carton’s cap inside the reservoir for added structure before placing your reservoir (print-side up) inside the container. Its open end should be facing toward your overflow hole.
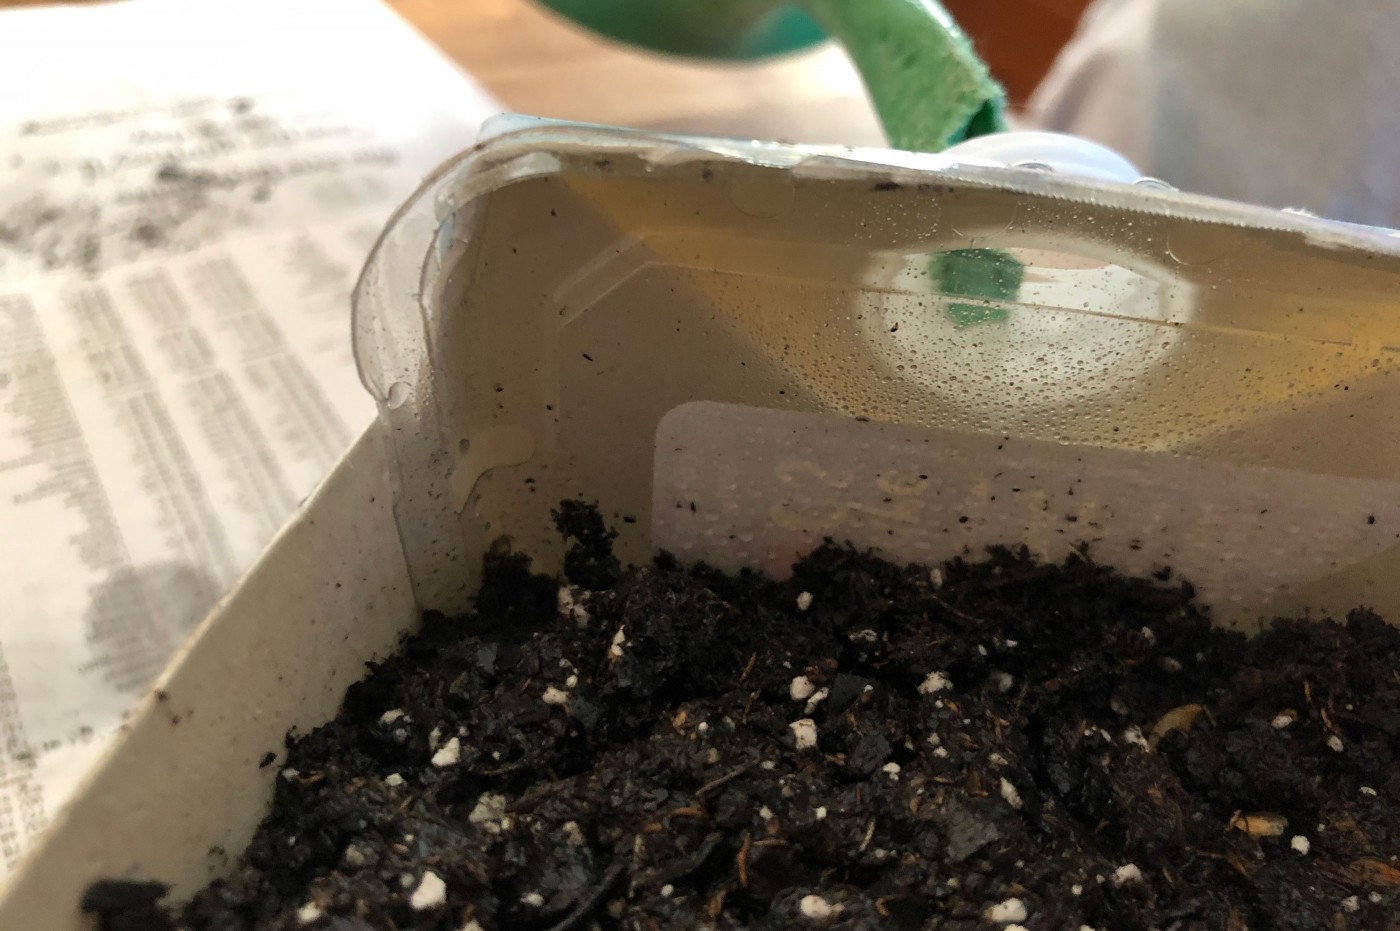
- Now take your clamshell container lid and trim it to fit inside your carton as pictured. Cut a couple of V-shaped notches in the bottom edge. Be sure to preserve the top lip so that you can use a staple to hold it securely in place.
- Congratulations! Your SIP is finished and ready to fill with potting mix. Gaps in the planting medium will impede wicking, so as you fill, be sure the medium is firmly tamped down in the wicking areas to create a seamless wick. Note, although I haven’t here, feel free to fill the container with potting mix all the way up to the top edge.


Once your SIP is filled, gently water it from the top (for the last and only time!) to help settle the potting mix. Fill the reservoir using the carton’s spout. You’ll know the reservoir is full when water drips out the overflow hole. Now you are ready to plant your seeds or nursery plants.

As you grow your plants, don’t be concerned about keeping the reservoir full. Refill it only when the potting mix feels dry or your plants look like they need water.
Keep in mind, the basic anatomy can be scaled up to larger containers, so experiment, have fun, and ask any questions you might have in the comments below. Happy SIP-ing!