Nothing says summer like a homegrown, fresh-off-the-vine tomato, but raising your own tomatoes from seed means starting in spring. While you can get good starter plants from nurseries and farmers’ markets, starting from seed gives you a much, much, broader selection. It’s also a fun way to really engage in the growing process. Heirloom varieties like ‘Pole Moneymaker’, ‘Mortgage Lifter’, ‘Amish Paste’, ‘Black Cherry’, ‘Paul Robeson’, and ‘Aunt Ruby’s German Green’ are luscious globes of food history and chock-full of vitamins.
Since the species itself, Solanum lycopersicum, is originally from regions close to the equator in Central and South America, your plants will need maximum sun and heat. Growing them in New York City’s climate requires giving them a head start by starting indoors. Four to six weeks before the last frost date is recommended.
Types of Tomatoes
Tomatoes come in a variety of shapes and sizes. Think about what is the right tomato type or types for you.
Cherry, pear, grape tomatoes are small, have a concentrated sweet flavor, and are great for snacks, garnish, drying, and gardening with children. They also start producing ripe fruit earlier.
Paste, plum, roma tomatoes are oblong, meaty, and drier, which makes them good for sauces and canning.
Slicing tomatoes are medium, round, and even-shaped—perfect for sandwiches, Caprese salad, and stuffed or broiled tomatoes.
Beefsteak tomatoes are the largest, usually oval, meaty, and super flavorful. This variety can be pleated, fluted, or smooth. They are great for salads, slabs, sandwiches, and everything!
I love tomatoes and like to plant mostly big beefsteak like ‘Cherokee Purple’, ‘Paul Robeson’, and ‘Black Krim’. Plus I grow a few plum tomatoes for canning–I like a determinate variety that ripens all at once. Indeterminate varieties continue to produce and ripen over a long season. I always grow one or two cherry or pear varieties to share with my grandchildren and children visiting our community garden plot. A wide variety of seeds can be can be found online. You’ll also be able to find a decent selection in garden shops.
Instructions
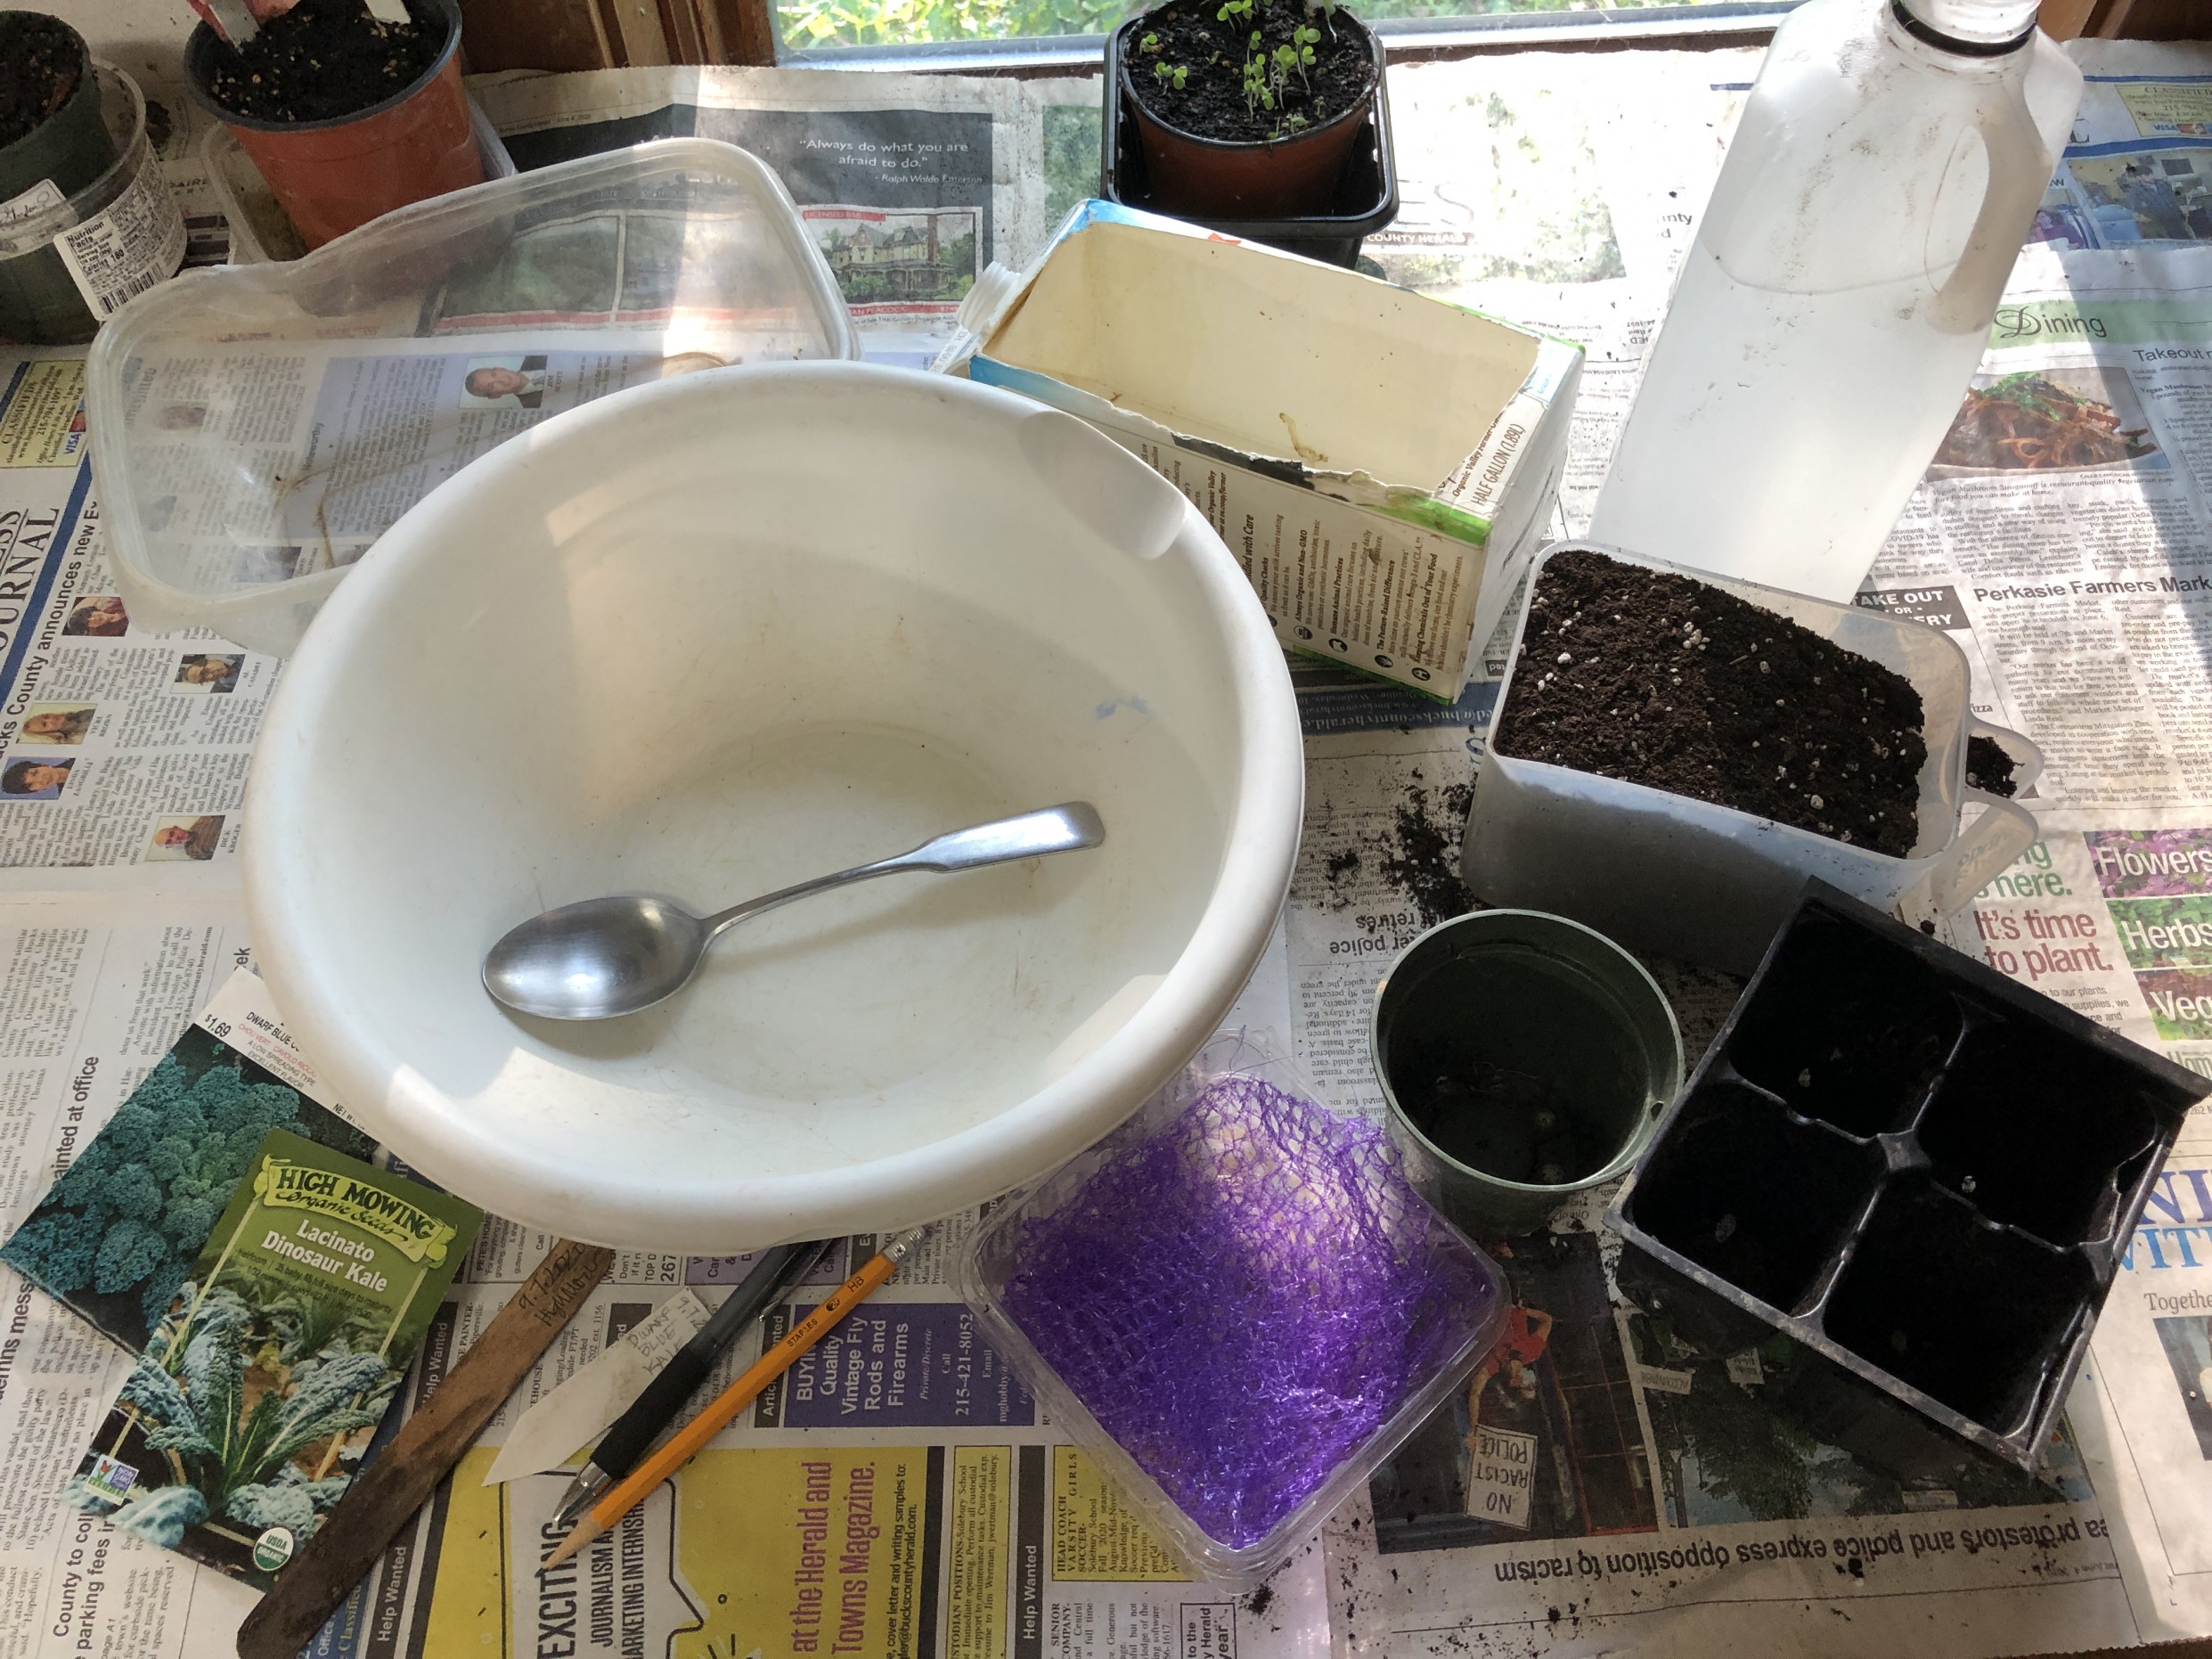
To get started, first gather supplies, You’ll need:
Sterile, soilless seed-starting mix (available at most garden shops or home improvement stores); clean containers; water; trowel or big spoon; seeds; plant tags or wooden craft sticks; permanent marker or pencil; and a drip tray.
Using a soilless mix is very important when starting seeds indoors. Don’t use regular garden soil since it contains natural fungi that could cause a condition called damping off.
Small pots, paper cups, and six-packs from a nursery are all acceptable containers, as long as they are super clean and have a drainage hole in the bottom. I like to reuse 4-inch nursery pots that I scrub in hot, soapy water; smaller-sized starter cells are fine too.
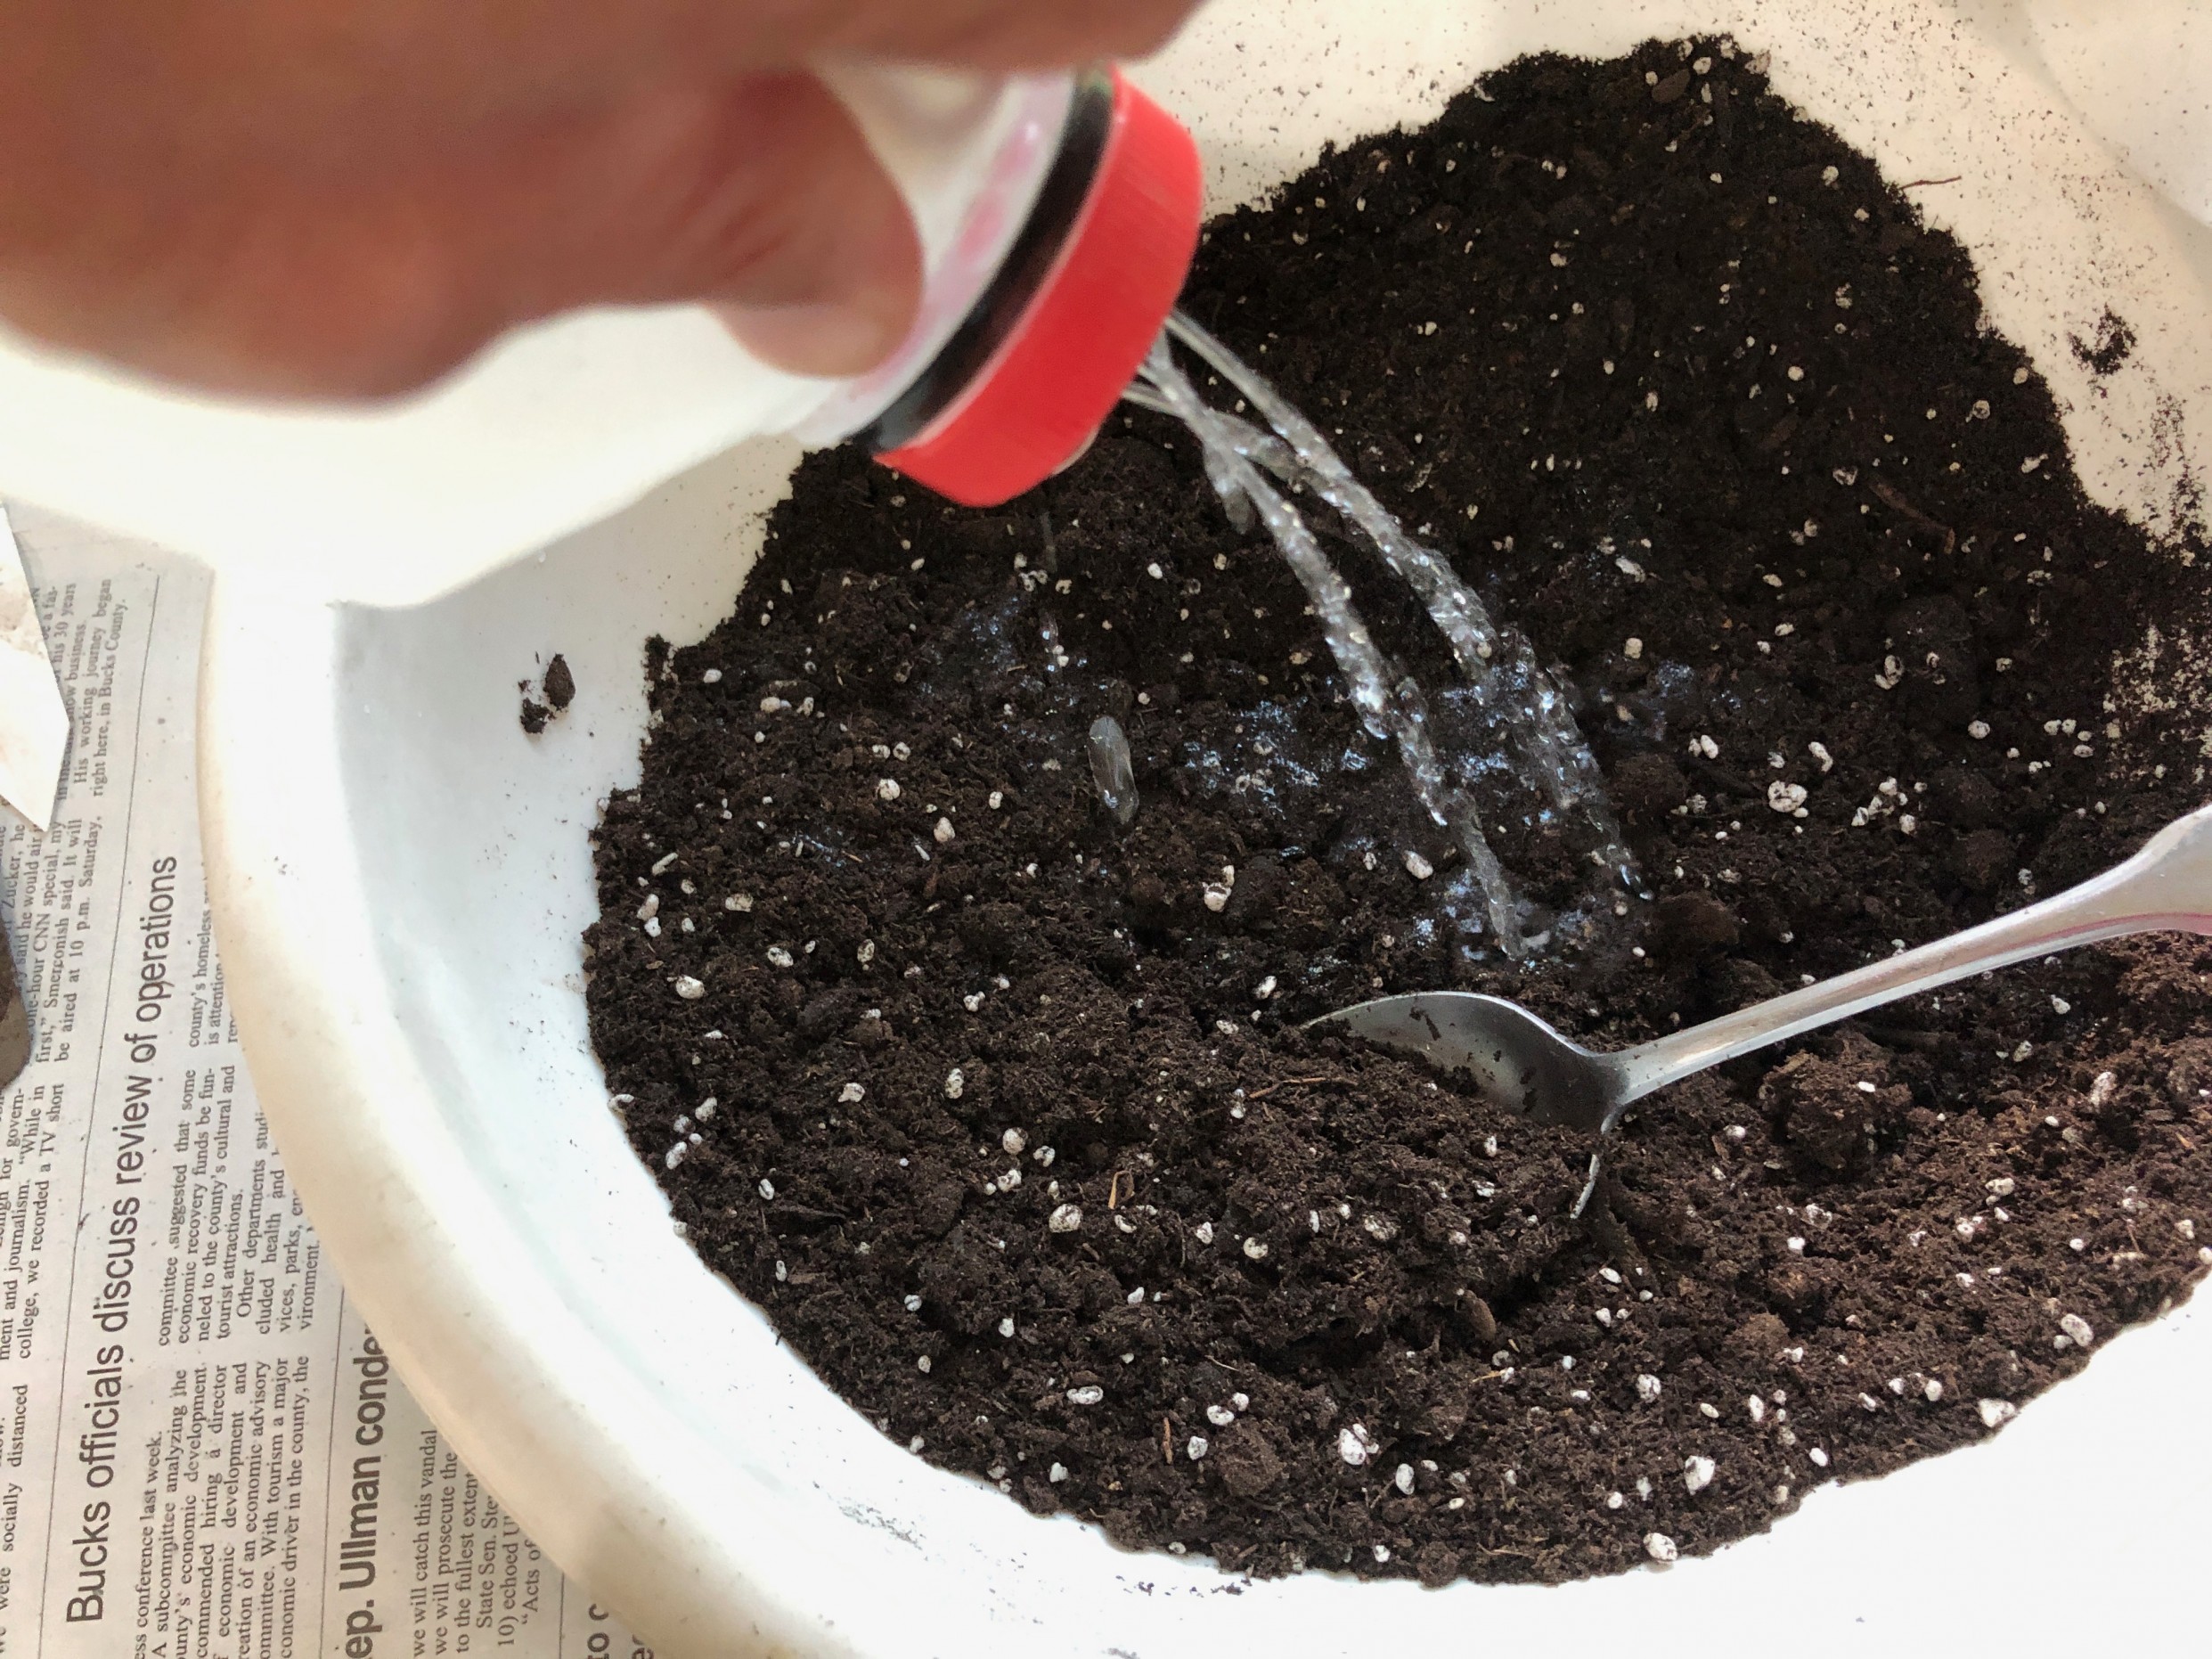
Moisten the soilless mix. Add water little by little until just moist. It should feel like a wrung-out sponge (no drips).
Fill: Gently add your starting mix to the container, leaving some space at the top. Tap to settle the mix—do not compress or squish down. Baby plants need space to expand their roots.
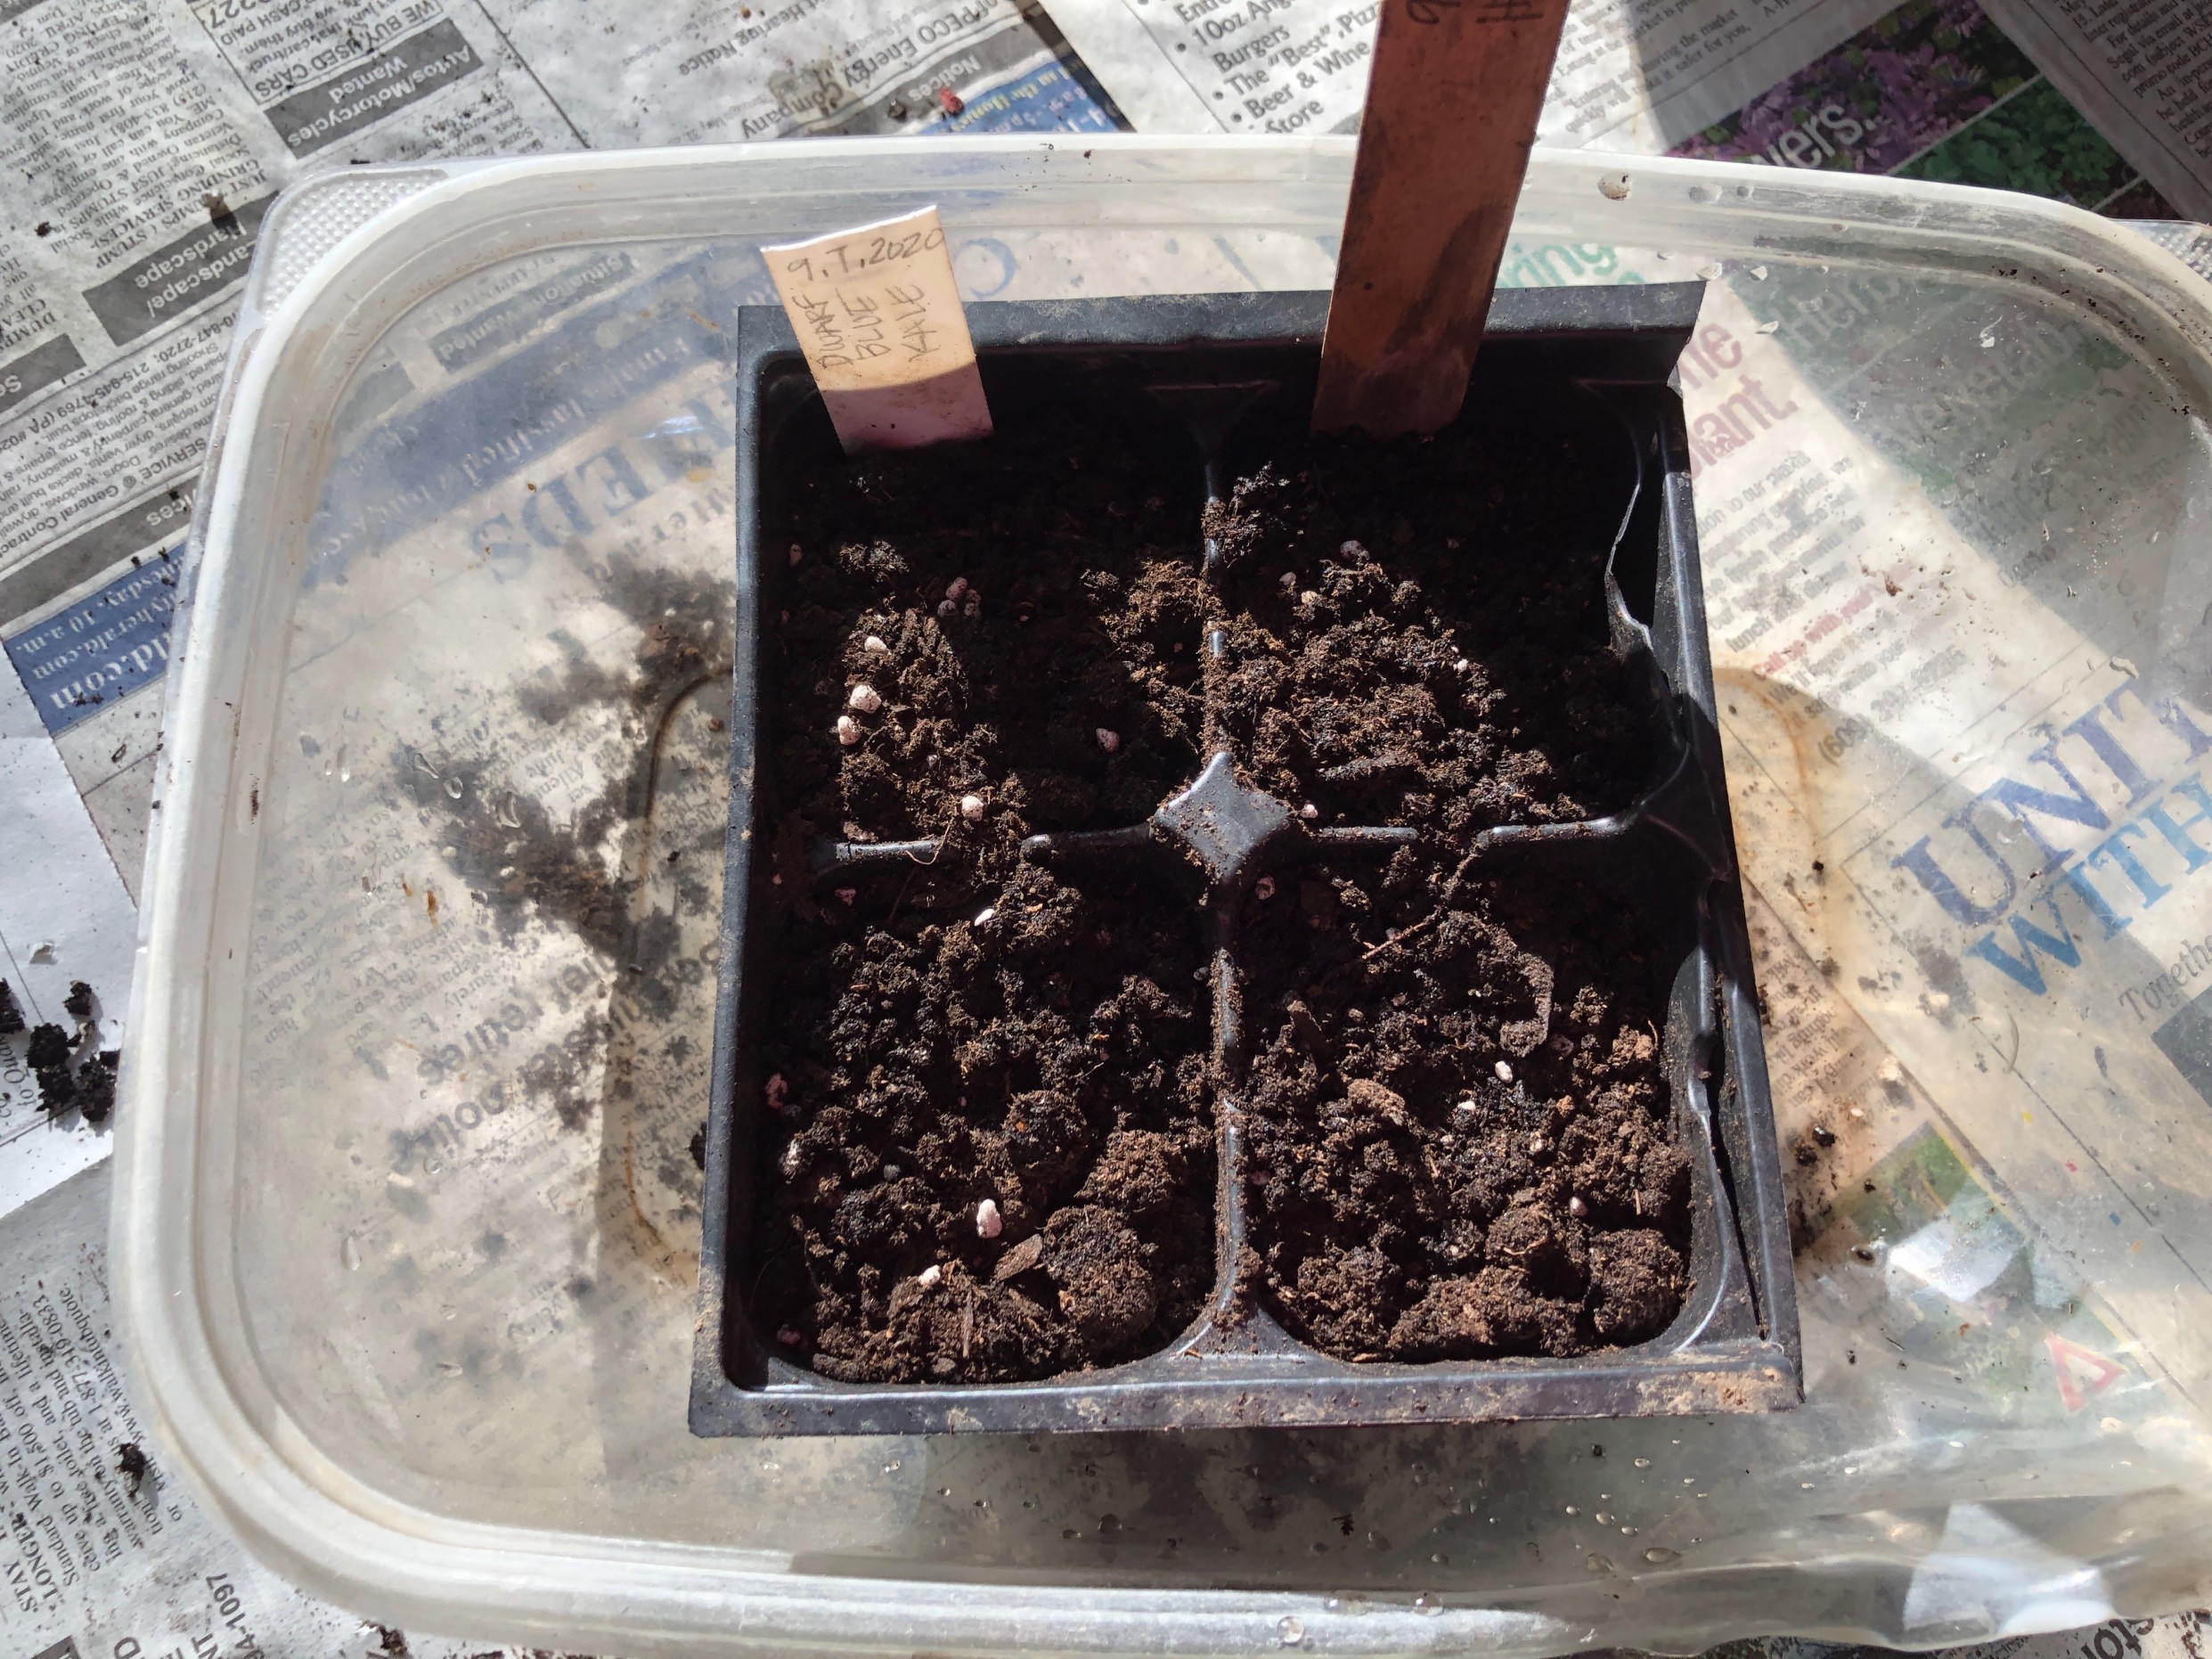
Planting: Place two seeds in the center of the container. Sprinkle some dry mix over the top of the seeds. Look on the back of your seed pack for the depth, but it’s likely a quarter inch for most tomatoes. Use a plant tag and permanent marker or a craft stick and pencil to write the tomato variety and date. Place tag in your planted container.
Watering: Place a larger container or drip tray under your just-planted container and gently water from the top, ideally with a watering can that has a fine rose, to moisten the mix you just added. Be very gentle so seeds do not get dislodged. Water is the catalyst that wakes seeds up from dormancy. Note: This is the only time you’ll water from the top.
Placement: Move the container to a spot where the seeds can germinate. A sunny windowsill is ideal. Tomato seeds do not need sun to germinate, but the extra warmth will help. They like bottom heat.
More Watering: Continue to water every other day from the bottom. Keep the mix evenly moist, but not sopping wet, until seeds germinate. Fill a tray with water and place your container in it for a few minutes. Allow the moisture to wick up, then drain the container and move back to its spot. This helps to avoid the damping off disease mentioned earlier. Always water from the bottom!
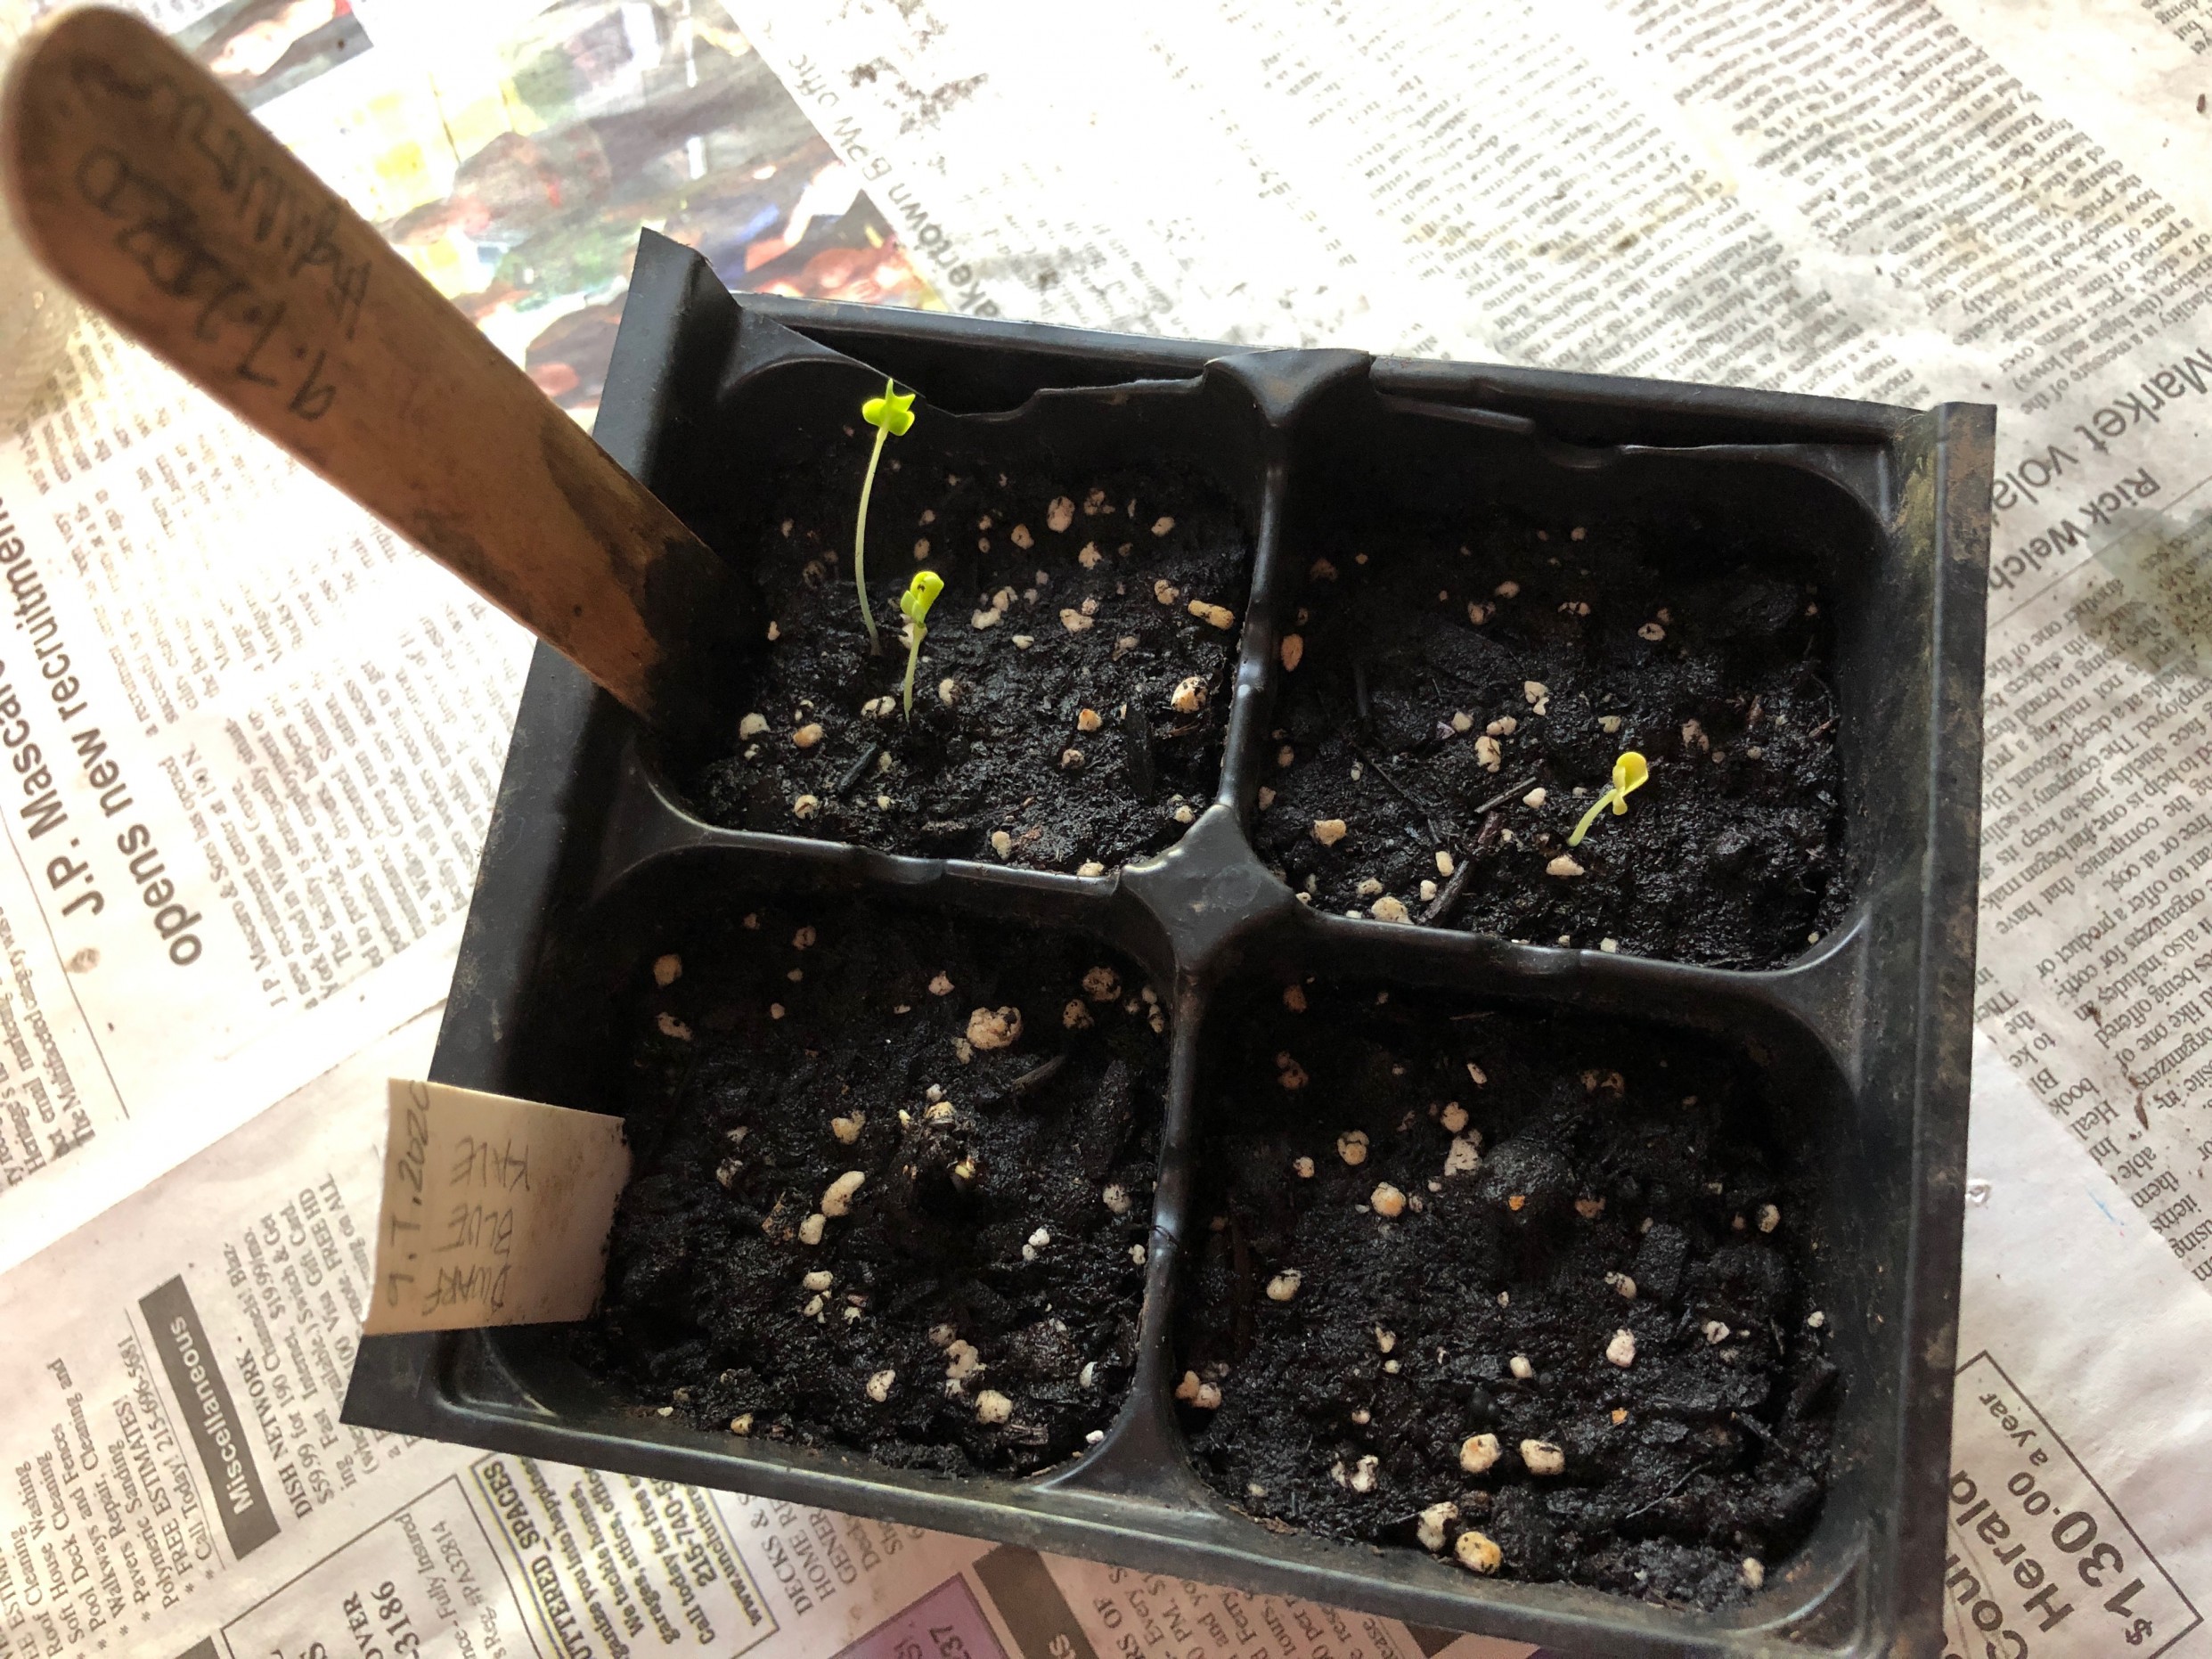
Germination: In a few days to a few weeks (depending on the seed type), you’ll see sprouts. Move to the sunniest location. Rotate every day if they start to grow toward one side. Start to gently pet or stroke them so they develop strong stems. (Singing to your seedlings is optional, although recommended by many gardeners!) Allow the mix to dry out in between watering. Continue to water from the bottom.
Fertilizing: Every two weeks, use double-diluted, organic fish emulsion or compost tea to fertilize seeds (don’t use the blue stuff that promises miracles—it contains salts and can promote lush growth that might attracts pests). Use the drip tray to fertilize from the bottom.
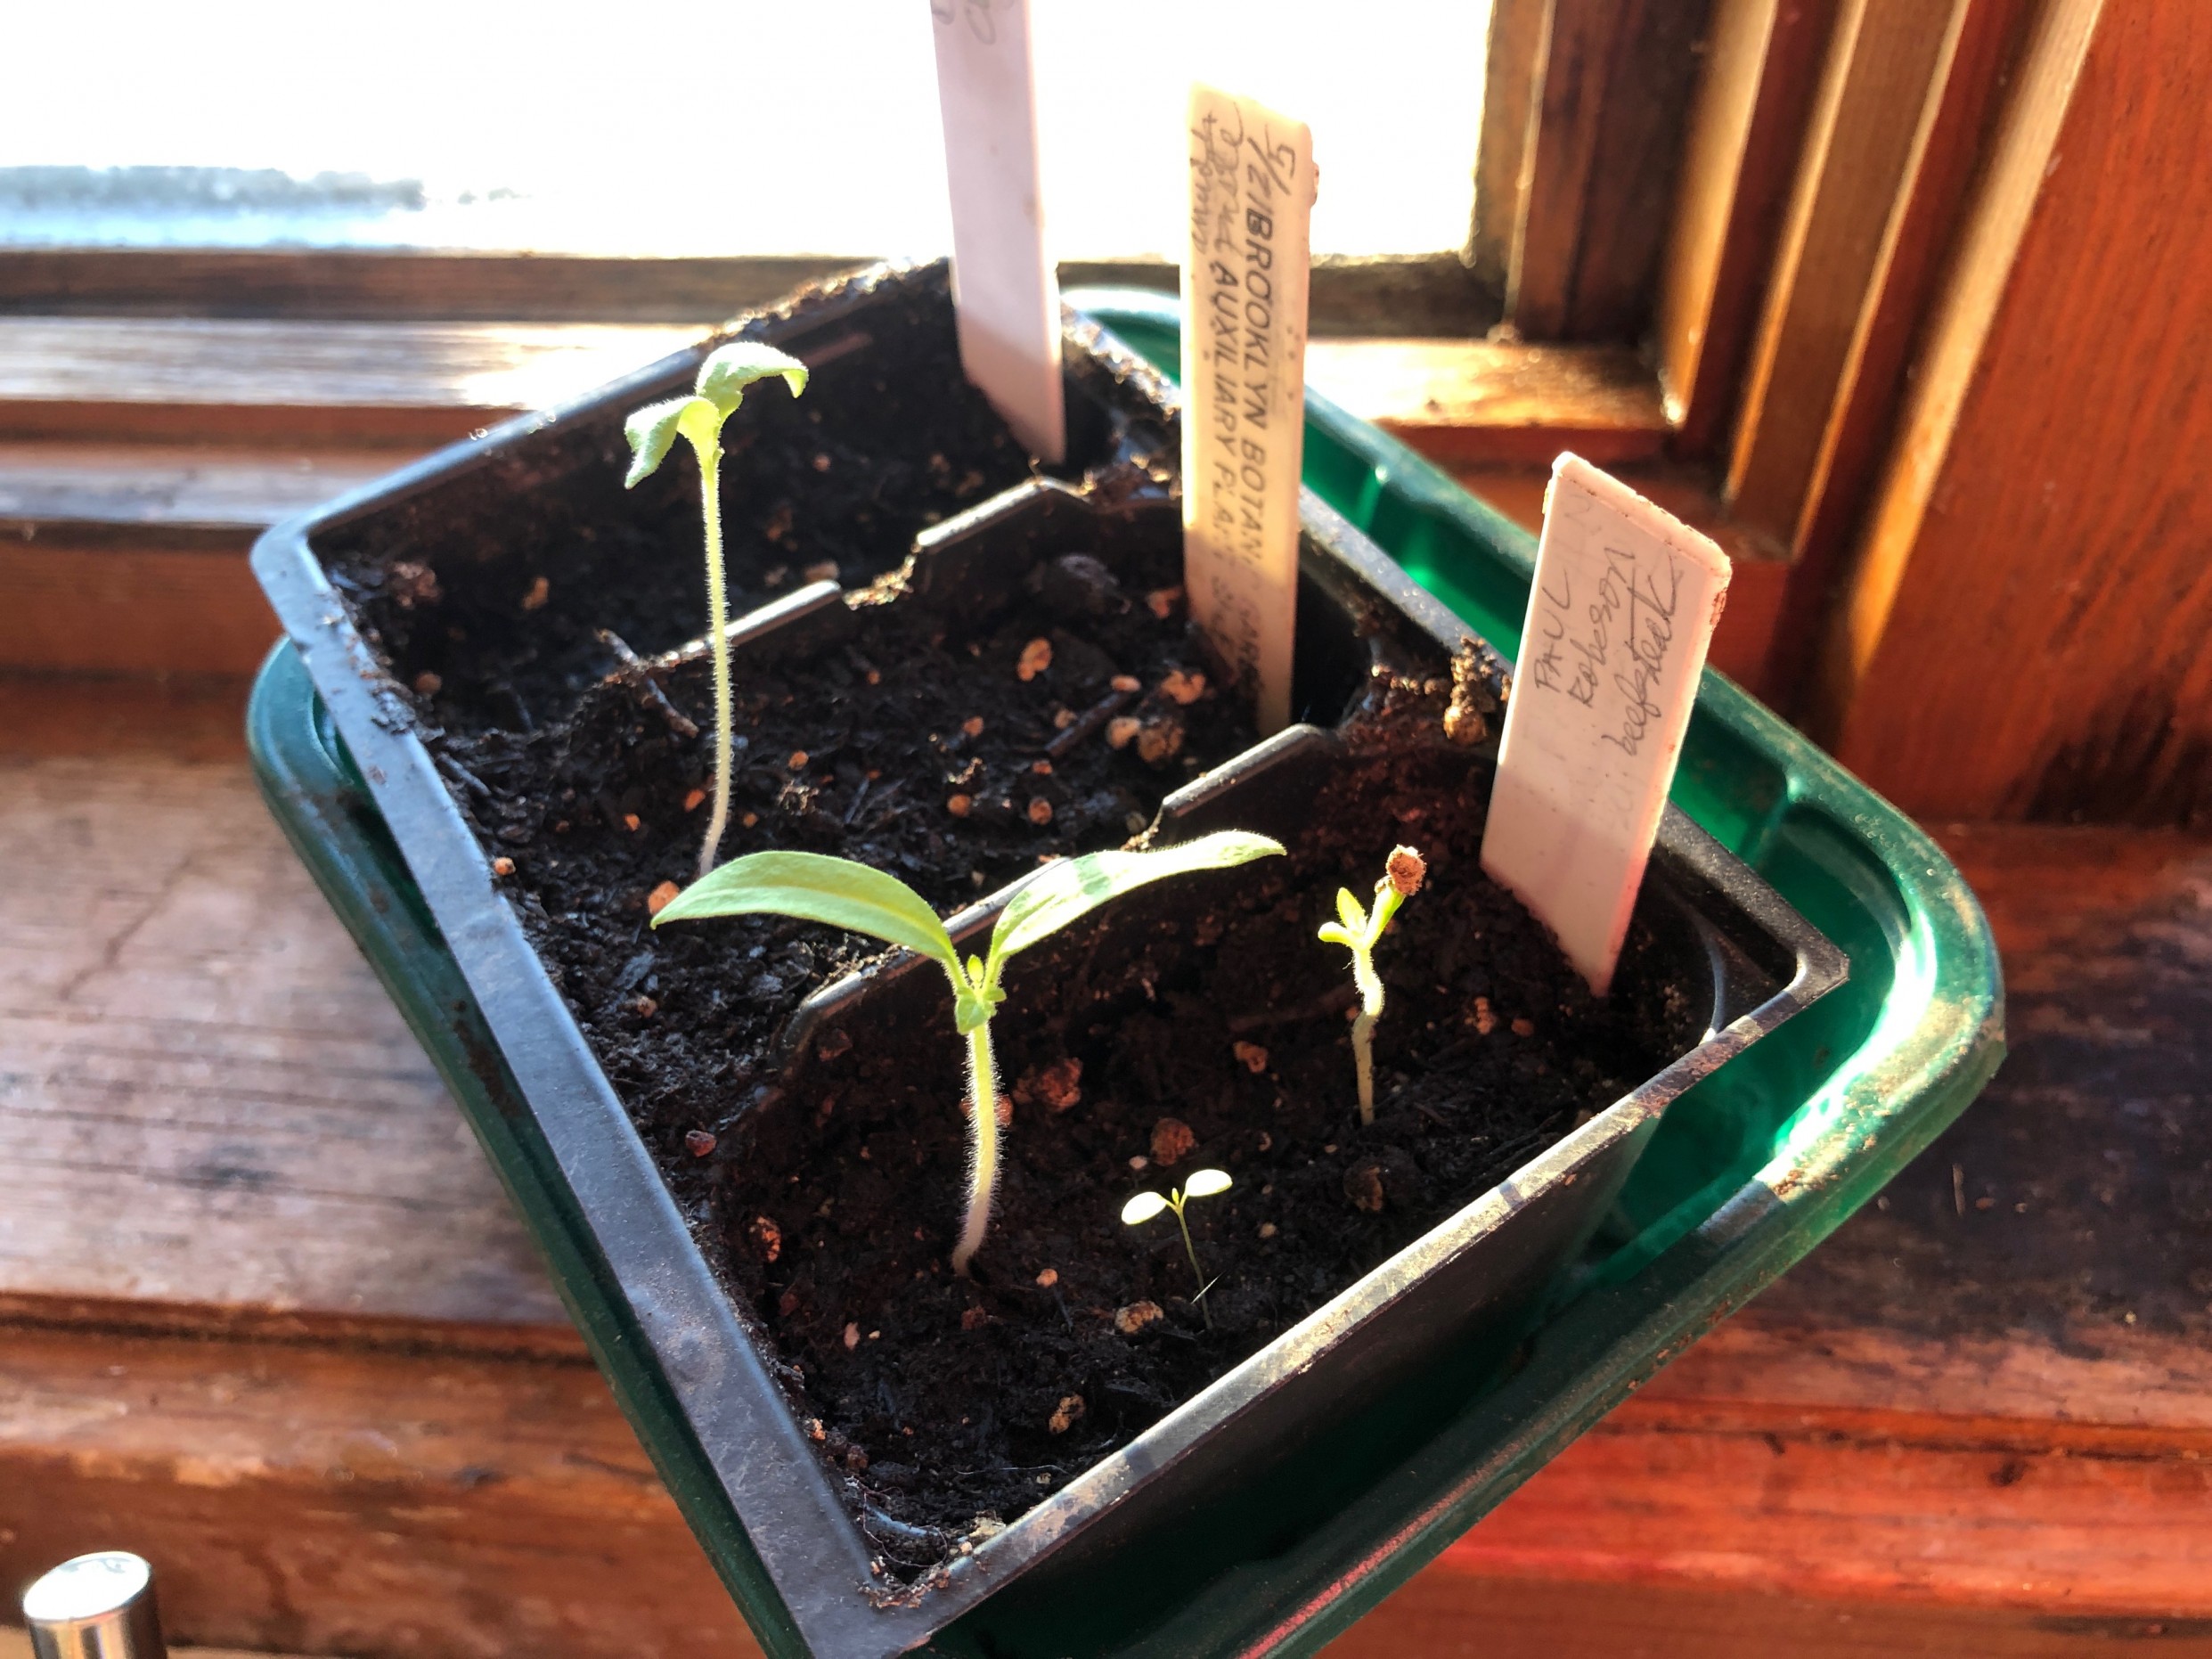
Seedling Care: Continue to care for the seedling. Look for the true leaves. The first leaves to emerge are cotyledons, and then the true leaves develop. When there are two sets of true leaves, it is a good time to “step up.”
Stepping Up: If you started in a small container, your plant will benefit from extra room to grow. Moisten some more soilless mix or potting soil; add about two inches to the bottom of the pot. Thin to healthiest seedling (trim the weakest by cutting at the soil level). Gently transplant into the larger container, adding more mix to the sides. Tap to settle mix to avoid compaction. Now your tomato seedling will grow bigger and more robust. Continue the same watering schedule.
Hardening Off: Tomatoes do not like the cold—they need warm soil temperatures. It is better to plant late and have plants catch up than plant too early and have stunted plants that get purplish and never recover. I usually plant the last week in May. I used to plant on Mother’s Day, but if it’s a cool, wet spring, the soil might not be warm enough then. Ideal soil temperature is 65–70 degrees.
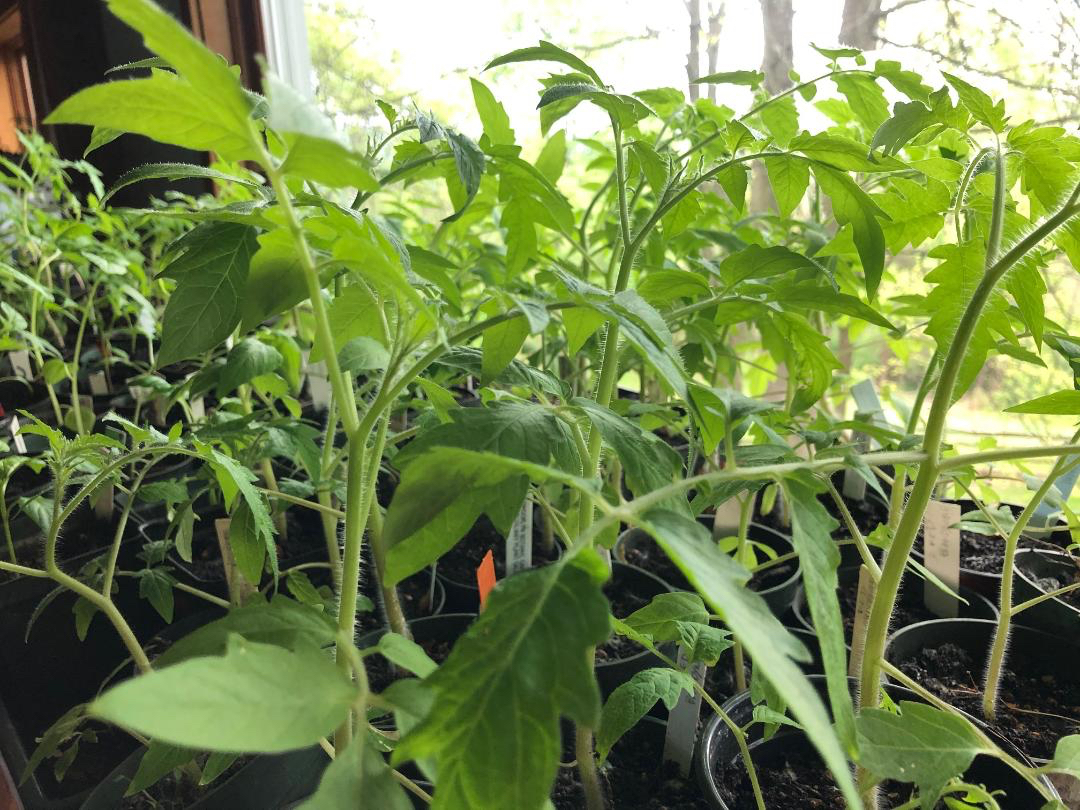
Photo by Maureen O’Brien.
Start the hardening-off process about two weeks before you plan to transplant. On a cloudy, warm day, take them outside for an hour, then bring them back inside. The next day, increase to two hours outside, then back inside. Gradually acclimate plants to outdoor light and temperature conditions by increasing a few hours per day to temperature and light. In the beginning of the process, limit exposure to strong sun—plants can get sunburn!
Planting Out: The big day has arrived—you’re ready to transplant your tomato plants outside to your garden. Pick the sunniest spot and dig a hole at least two to three times as big as the pot. Add a trowel-full of sifted compost, water the hole, and let the water drain completely. Water the hole again. Transplant your tomato plant into the new hole and backfill gently, firming the soil without compressing it. Add the plant tag and water well. Water every other day for the first week. Then once a week water deeply to encourage the plant to grow deep roots. Aim for an inch of water per week.
Congratulations—well done! It’s time to start dreaming of tomatoes in salads, sauces, sandwiches, and my favorite way—warm right off the vine.
Online Seed Sources
These companies are wide varieties of heirloom and other tomato seeds, as well as many other vegetable seeds.
Comments will be posted after review; your email address will not be displayed.
Have a gardening question for BBG staff? Reach out to our Gardener's Help Line.